Wondering how to add a coupon code field in WordPress forms? We’re going to show you exactly how.
It’s essential to incorporate digital coupons for any e-commerce business website. You can easily organize giveaways and sales with coupon codes on your website.
And the easiest way to use the coupon system in your site is by adding a coupon code field to a WordPress form. Thus, users can enter the coupon code into the field and apply for discounts or giveaways.
So, in this article, you’ll learn how to add a coupon code field in WordPress forms. But before we begin, let’s briefly discuss the advantages of adding a coupon field in your forms.
Table of Contents
Why Add a Coupon Code Field in WordPress Forms?
Sure, coupons were paper-based at first. But virtual coupons have become equally famous in the digitalized era. With the massive boost in online shopping during the pandemic, digital coupons surpassed paper ones for the first time in 2022.
That’s why a lot of businesses have introduced digital coupon codes that users can apply to receive discounts and gifts.
You can simply create a WordPress form with a coupon code field. Users can then enter their coupon code into the field to receive the specified discounts. Simple and quick!
Here are some more benefits of adding a coupon code field in WordPress forms:
- It encourages customers to try products or services that they normally wouldn’t.
- It enables you to reward recurring customers.
- It helps in lead generation through email marketing during events like Christmas, Black Friday, etc.
Thus, adding a coupon code field can be a powerful weapon for your business.
And for that, you require a good form builder plugin like Everest Forms. This fantastic drag-and-drop WordPress coupon plugin comes with a premium Coupons add-on.
Hence, you can easily create as many coupon codes as you need and add coupon code fields to your form.
With that said, let’s dive right into the content.
How to Add a Coupon Code in WordPress Forms Using Everest Forms?
Now, to add a coupon field in your WordPress forms, just follow the simple steps below:
Step 1: Install and Activate Everest Forms and Everest Forms Pro
First, log into your WordPress dashboard. After that, install and activate Everest Forms and Everest Forms Pro.
You must install and activate both the free and premium versions of Everest Forms. You require the premium version of Everest Forms to install the Coupons add-on, as it’s available only in the premium plans.

Once you’ve set up the plugin successfully, you can move on to the next step.
Step 2: Install and Activate the Coupons Add-on
Since you’ve got the pro version of Everest Forms, you can now easily install any Everest Forms add-on. For that, navigate to Everest Forms >> Add-on, and search for the Coupons add-on.
Then, click on the Install Addon button and press Activate. You’ll know the add-on is activated when the status shows Activated.

Step 3: Create a Coupon Code
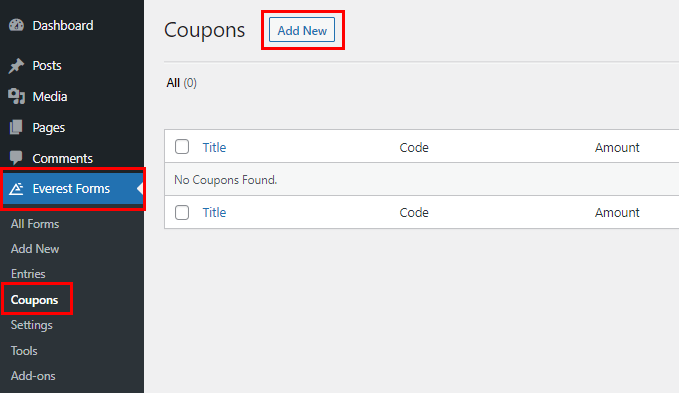
Now that you’ve installed your add-on, you can generate various coupon codes as per your requirement. Simply go to Everest Forms >> Coupons and click on Add New.
After that, you’ll be redirected to the coupon builder page. Here, you can make the edit your coupon code as follows:
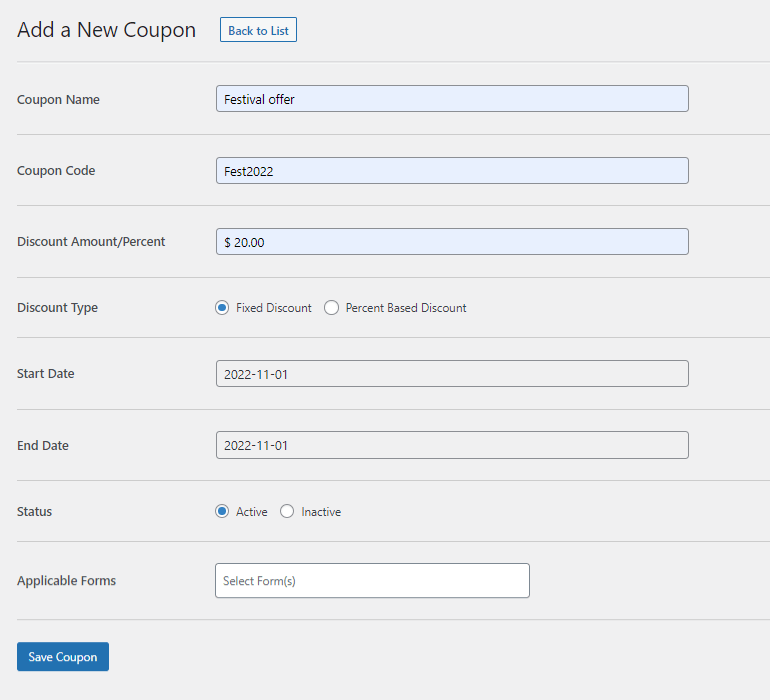
- Coupon Name: Enter the name of the coupon here.
- Coupon code: The actual coupon code goes here. You can enter a relevant code that’s suitable for the occasion, such as “Fest2020.”
- Discount Amount/Percent: Enter the discount you want to grant to the users.
- Discount Type: Select between Fixed Discount and Percent Based Discount types.
- Start Date: Select the starting date of the discount. The coupon code will be valid only from this date onwards.
- End Date: Select the date when the discount ends. The coupon code will be valid only until this date.
- Status: You can set the status of the coupon as active or inactive.
- Applicable Forms: Select the forms where you want this coupon code to be applicable. You can also select multiple forms by holding the Ctrl key.
- Finally, hit the Save Coupon button to create the coupon successfully.
Step 4: Add Coupon Code Field in Your WordPress Form
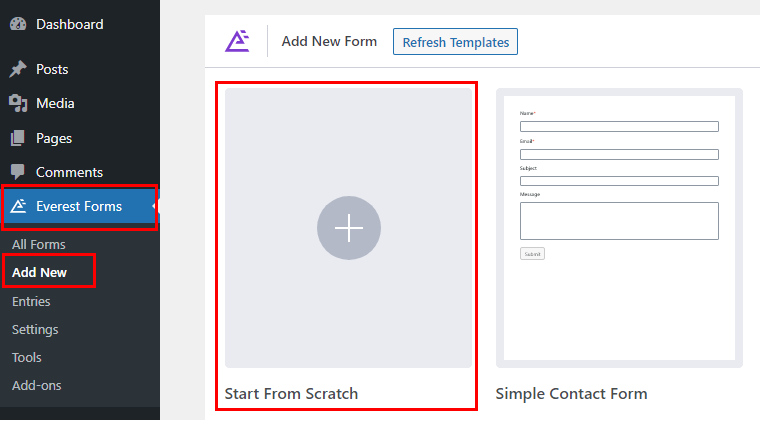
Next, you must create a form where you can add a coupon code field. So, navigate to Everest Forms >> Add new. You’ll find a collection of pre-built form templates on the Add New Form page. However, you can also start from scratch with the Start From Scratch option.
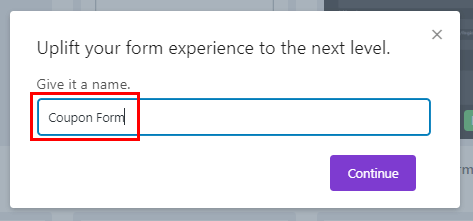
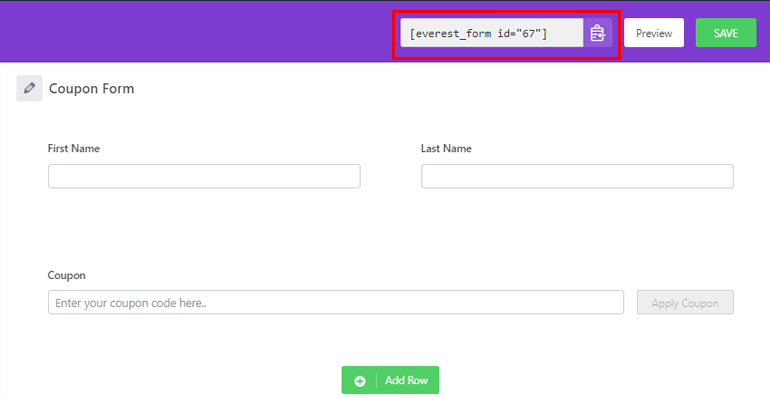
Give your form a name and click Continue; we’ve named it “Coupon Form.”
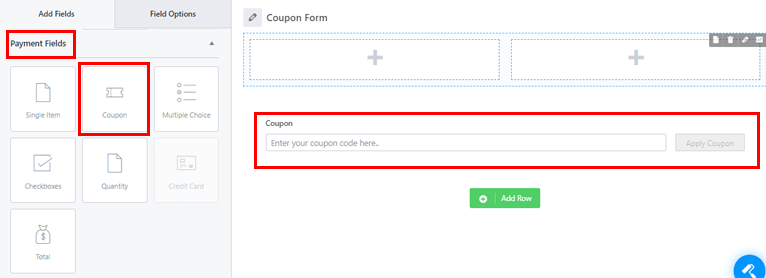
Now, a form builder window will open up. On the left side of the builder, you’ll find all the available form fields. As you scroll down, you’ll see the Coupon Field under the Payment Fields. Drag and drop the field on your right to the desired area.
You can add as many fields as you need for your form in the same way.
Moreover, you can customize the coupon field along with other fields in your form. Just click on the field you want to customize, and its Field Options will appear on the left.
For instance, you can make the following changes to the Coupon field:
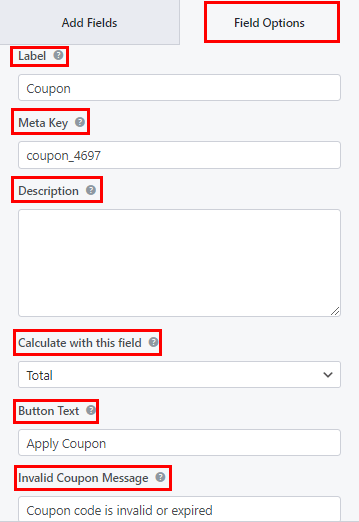
- Label: You can change the coupon field’s label by entering what you want.
- Metakey: Metakey stores field data in your database and retrieves it when necessary.
- Description: You can enter the text for your form field description here.
- Calculate with this field: Here, you can choose the field whose value you want to use to calculate the coupon discount.
- Button Text: This lets you edit the button text for applying the coupon.
- Invalid Coupon Message: Add an invalid coupon message to let the users know if the coupon is invalid or expired.
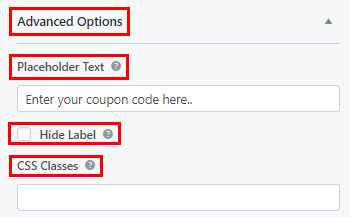
Similarly, scroll down for the Advanced Options, where you’ll find:
- Placeholder Text: With this option, you can add text for the form field placeholder.
- Hide Label: You can also hide your label by enabling this option.
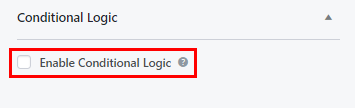
If required, you can apply conditional logic to the field with the Enable Conditional Logic option.
Likewise, customize the rest of the form fields, and hit the Save button at the top.
Step 5: Add Your Form to the Website
The final step is to display the form on your website so that users can fill and submit it.
All you need to do is copy the shortcode of the form you just created from the top of the builder.
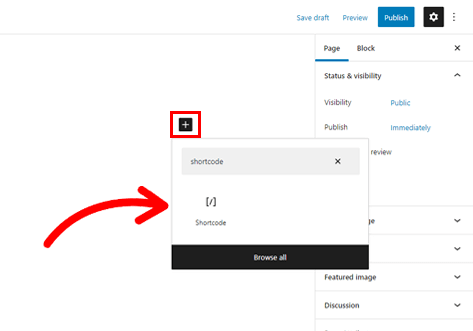
Then, create a new Page or Post that’ll display the coupon form. In the Gutenberg editor, press the Add Block (+) button. Search for the Shortcode block and add it to the page.
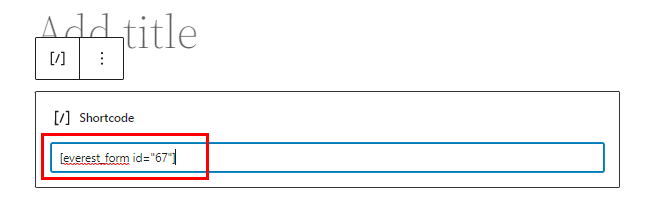
Now, paste the form shortcode you copied previously, and hit the Publish button. That’s it! Your WordPress form with the coupon code will now be displayed on your site.
Alternatively, you can use the Everest Forms block instead of the Shortcode block. Click on the Add Block (+) button and search for the Everest Forms block.
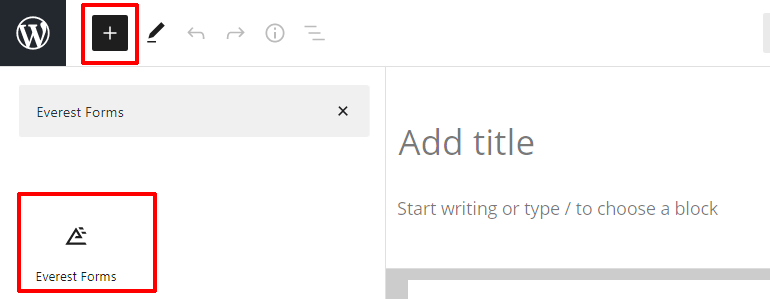
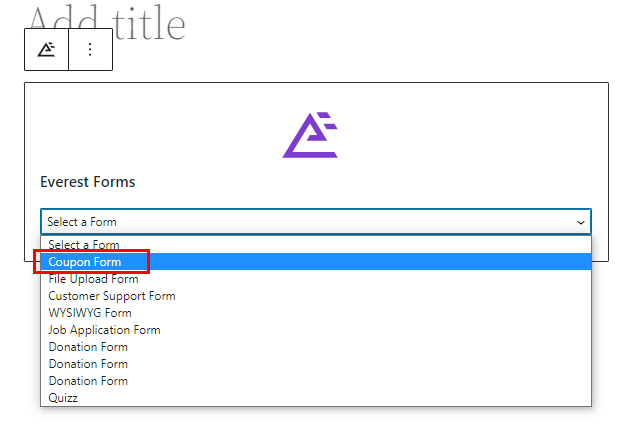
Add it to the page and select your WordPress coupon code form from the drop-down.
Finally, hit the Publish button at the top.
Wrapping It Up!
Adding coupon code fields in your WordPress forms is quick and easy with Everest Forms. Moreover, you can create and customize unlimited coupon codes with just a few clicks.
Besides the coupon code field, you can also add the WYSIWYG field in your forms with Everest Forms. Better yet, you can also customize your form’s style.
The capabilities of this powerful plugin are limitless. You can always read up on everything Everest Forms has to offer on our blog. And for easy video tutorials, you can subscribe to our YouTube channel.
Finally, for future updates, follow us on Facebook and Twitter.


![Zakra 3.0 | Zakra Pro 2.0 Release [Major Updates!]](https://i.ytimg.com/vi/g3rifl7kWvg/maxresdefault.jpg)