Do you want to learn how to accept iDEAL payments with WordPress forms? We’ll teach you how.
In this day and age, everything can be done online, which includes online payments. Hence, receiving payments from abroad is anything but a hassle for businesses.
Businesses no longer have to be bound to a local area. Country-specific payment methods have dawned in a new age of global e-commerce. For instance, iDEAL is a Netherlands-specific payment platform that grants its customers the ability to pay abroad when incorporated with Stripe.
Hence, this article will show you a stepwise guide on how to accept iDEAL payments in WordPress forms. But before we jump in, let’s talk more about iDEAL and its benefits.
Table of Contents
What is iDEAL Payment?
As discussed before, iDEAL is a Netherlands-based payment system offered by banks as part of their internet banking service. It uses the customers’ bank credentials to complete the transaction.
With a share of online transactions of almost 55%, it’s the most popular payment method in the Netherlands. Below are a few reasons why it’s so widely used:
- Transactions are done using the mobile banking app; thus, Dutch people don’t require their debit or credit card.
- iDEAL is safe and secure as customers make their payments in the environment of their bank.
- iDEAL notifies you instantly whether or not your transaction is successful.
- Financial activities made through iDEAL are shown in your bank statement automatically.
So, why not offer iDEAL as a payment option for your Dutch users?
And for that, you’ll need a plugin that lets you enable iDEAL payments. We recommend Everest Forms, the incredible form builder tool with a beginner-friendly drag-and-drop interface.
With Everest Forms, you can create payment forms in just a few minutes. And the most crucial part is that Everest Forms connects you with the powerful payment gateway, Stripe. On top of that, you can also enable iDEAL payments for users from Netherlands.
With that said, let’s get started with the guide on how to accept iDEAL payments in WordPress forms.
How to Accept iDEAL Payments in WordPress Forms Using Everest Forms?
To accept iDEAL Payments using Everest Forms, follow the simple steps below:
Step 1: Install and Activate Everest Forms and Everest Forms Pro
To begin with, log in to your WordPress website and install and activate both Everest Forms and Everest Forms pro.
You must also install the plugin’s premium version, as the Stripe add-on is only available with a premium plan. You’ll need this add-on to access the payment fields, Stripe integration, and iDEAL payment.
Once you’ve set up the plugin correctly, you can move on to the next step.
Step 2: Install and Activate the Stripe Add-on
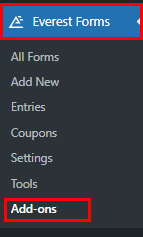
With the setup complete, you can now easily install any Everest Forms add-on you need. For that, navigate to Everest Forms >> Add-ons.
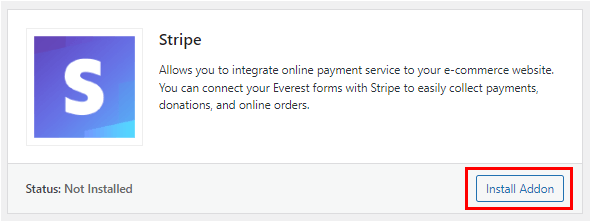
Next, search for the Stripe add-on. Then click on the Install Addon button and press Activate.
Step 3: Integrate Stripe with Everest Forms
Now that you’ve activated the Stripe add-on, it’s time to connect it with Everest Forms.
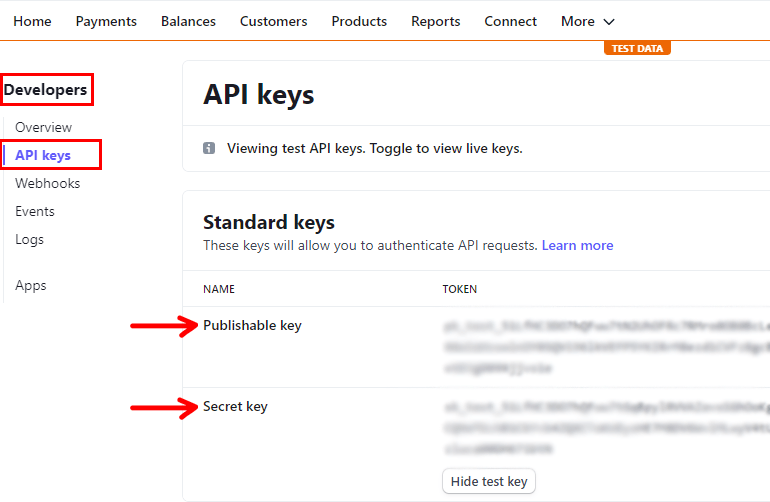
So, to proceed with the Stripe setup, you require your Stripe account’s API keys. For that, head to your Stripe dashboard and visit the API key page under the Developer tab. Copy your Publishable key and Secret key.
Again, go back to your WordPress dashboard. Then, navigate to Everest Forms >> Settings >> Payments and paste the keys to the appropriate fields.
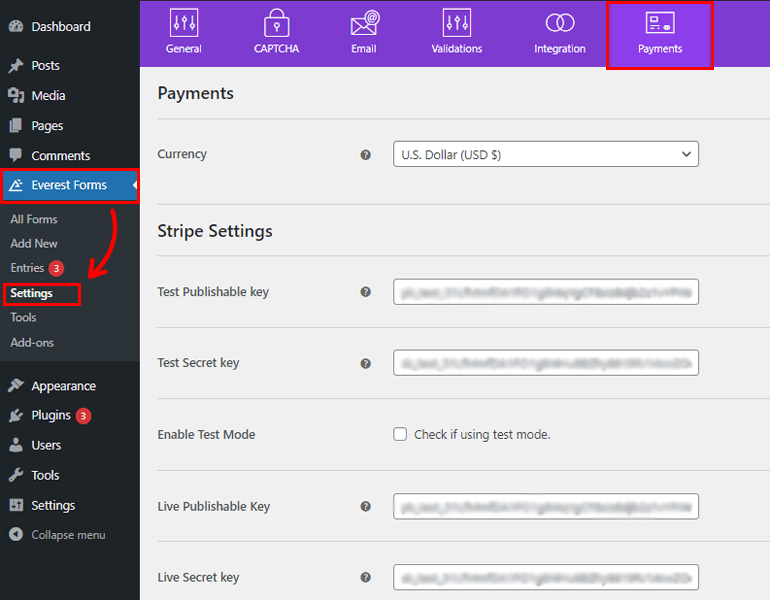
Hit the Save button to complete the integration.
If you need in-depth details, check out our article on how to accept payments using Stripe.
Step 4: Create a Payment Form
After integrating your Stripe account with Everest Forms, you need a payment form. You can create a simple form just by clicking on Start from Scratch and customize your form further.
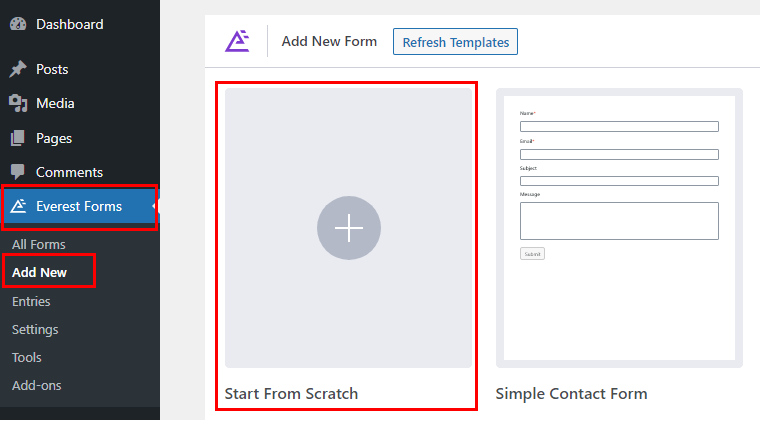
Or use the pre-built form templates to save you some time. To use the pre-built template, go to Everest Forms >> Add New and choose the template of your choice.
Here, we’ll be creating a form from scratch. We’ve included all the important fields a payment form should contain. However, you can edit and customize the fields according to your need.
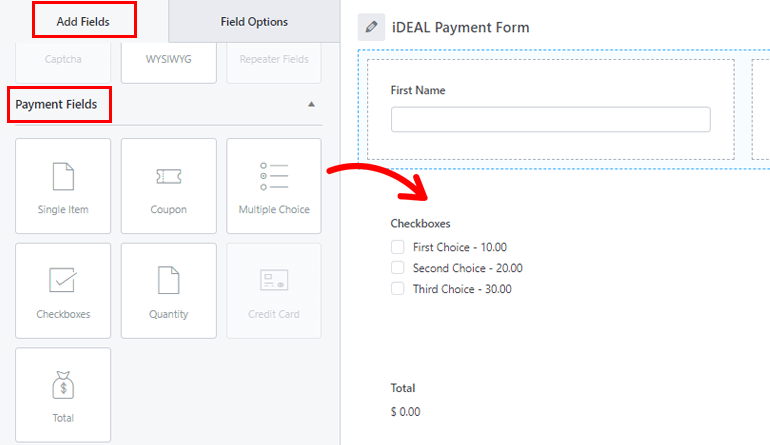
To add extra fields, drag and drop them on the form. You can add as many fields according to your form’s requirements.
Once you have your iDEAL payment form ready, Save the changes and move ahead.
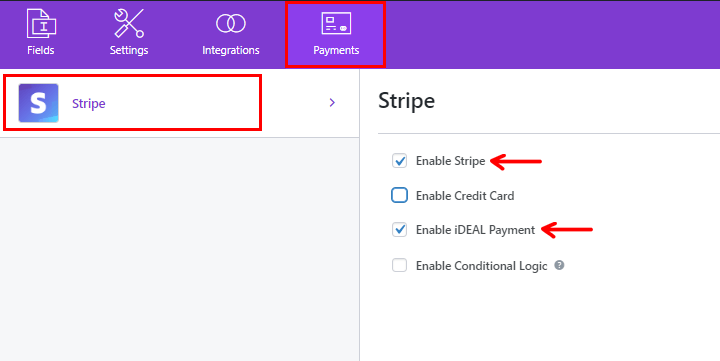
Step 5: Enable iDEAL Payment
Now, here comes the most important part. To accept iDEAL payments in WordPress forms, you must enable iDEAL Payment.
So, open the Payment option for the payment form you created previously. This will further show you two more options Paypal and Stripe. For the iDEAL payment method, you need to click on Stripe.
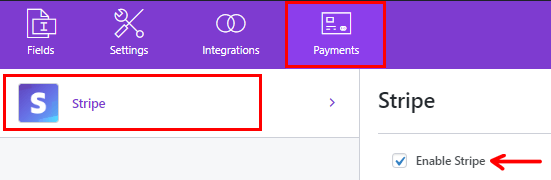
After that, enable Stripe just by check marking the box. Right after enabling Stripe, more options will pop up, Enable iDEAL Payment being one of them.
Just tick the checkbox on Enable iDeal Payment like before, and that’s it; you’ve successfully enabled the iDEAL Payment.
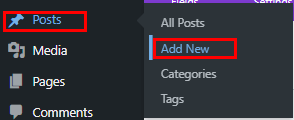
Step 6: Add Form to Your WordPress Website
The final step is to, add the completed payment form to your website. To do that, navigate to the Posts/Pages >> Add New.
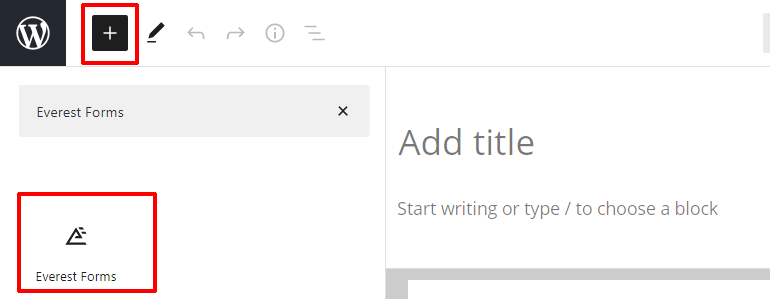
Then, click on the Add Block (+) icon and search for the Everest Forms block. Then, add it to the page by clicking on it.
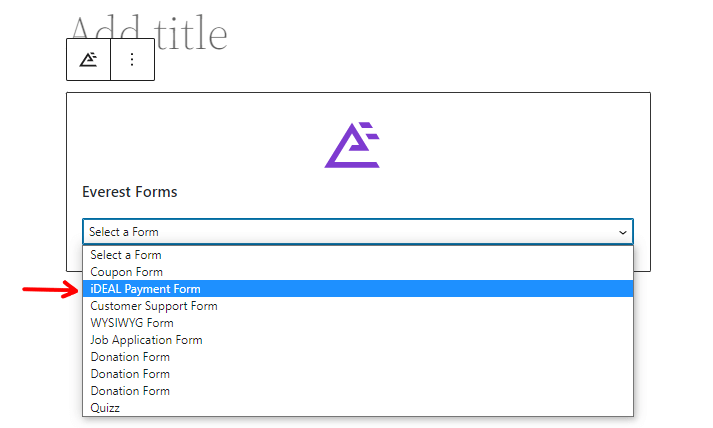
Once you’re done, select your WordPress iDEAL payment form from the drop-down.
Finally, you can hit the Publish button at the top if you like how your form looks. And there it is, your payment form successfully published for your visitors to fill out.
Wrapping it Up!
That’s a wrap of our guide on how to accept iDEAL payments with WordPress forms. Accepting iDEAL payments in your WordPress forms may help convince your customers from Netherlands to make a payment on the spot.
And naturally, it’ll also help you move along with time. So, why fall behind in this race? Tap into this fantastic opportunity to make your business global. Especially when there’s the best form builder tool like Everest Forms.
Wait, there’s more you can do with this drag-and-drop plugin! You can add a coupon code field in your WordPress forms, convert your WordPress submissions to PDF, and more.
You can read more about WordPress-related content on our blog. For easy video tutorials, subscribe to our YouTube channel. And if you like our content, share it on your socials. You can also reach out to us on Twitter and Facebook.


![Zakra 3.0 | Zakra Pro 2.0 Release [Major Updates!]](https://i.ytimg.com/vi/g3rifl7kWvg/maxresdefault.jpg)