Want to learn how to add WYSIWYG field in a WordPress registration form? We’ll show you how!
WYSIWYG (pronounced wiz-ee-wig) is an acronym for ‘What You See Is What You Get’.
Simply put, it’s an editing system that allows editing content in the same interface as it would appear to end users.
Adding WYSIWYG field in registration forms is a great idea if you want to collect well-formatted content from your users. It allows them to edit and style text and multimedia within a single area and submit.
So, if you want to include a WYSIWYG field in your WordPress registration form, stick with us till the end. We’ll show how you can add one with the help of this tutorial.
Table of Contents
What’s a WYSIWYG Field? What are the Benefits of Adding it to Your Form?
We’ve already discussed briefly what the WYSIWYG field is. It’s a form field that allows users to enter and format text using a visual editor similar to a word processor.
A WYSIWYG editor in a website could be the text editor that’s used when creating a blog post/page in WordPress. For instance, the classic editor on WordPress.
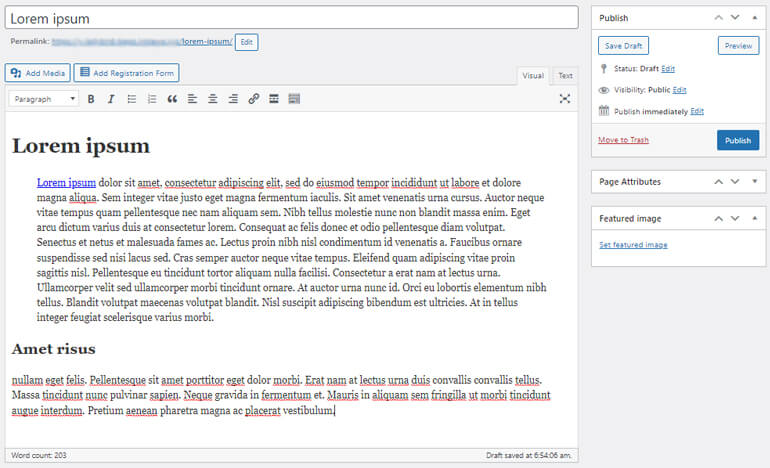
The editor allows users to format text and visually add images and other media elements.
So, when users enter text or images into a WYSIWYG field, they can see the formatted text in real-time.
Now, you might wonder how a WYSIWYG field in a user registration form can be helpful.
Below are some key benefits:
- As a website owner, you can collect pre-formatted content from the users. For example, user bios can be collected.
- It allows your users to images, lists, links, etc., in a single place without coding. Hence, they can submit their ideas freely.
- It makes WordPress form accessible to several users with different levels of technical expertise.
What’s the Best Way to Add WYSIWYG Field in WordPress Registration Forms?
Now, you only need a plugin to help you with the task. For that, we suggest you the ultimate WordPress registration plugin, User Registration.
This incredible plugin lets you create many beautiful custom registration forms without a hassle.
Likewise, you can add various fields in your form, including the WYSIWYG field. All you require is the Advanced Fields extension, and you’re ready.
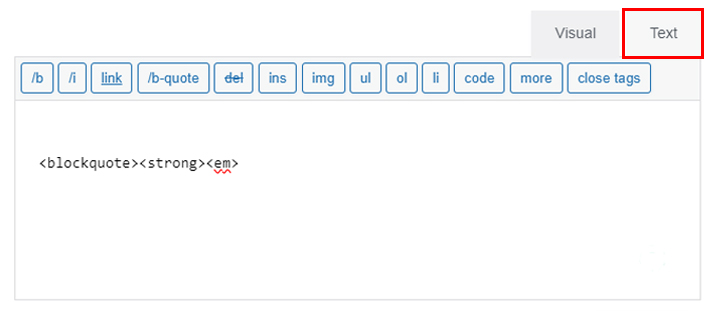
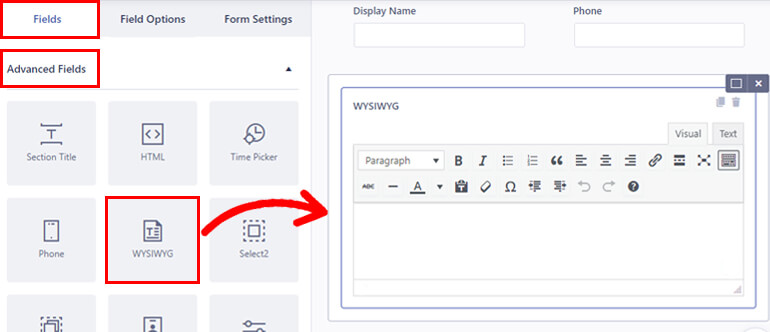
The WYSIWYG field of the User Registration plugin lets your users switch between two modes:
- Visual: Images and texts are displayed in a text editor.

- Text: Images and texts are shown in HTML format.
Next, you’ll see the list of toolbar options you’ll find under Visual mode.
- Paragraph
- Bold
- Italic
- Bulleted list
- Numbered list
- Blockquote
- Align right
- Align center
- Align left
- Insert/edit link
- Insert Read More tag
- Fullscreen
- Toolbar Toggle
Likewise, you can get more options from the Toolbar Toggle icon like Strikethrough, Horizontal line, Text Color, Paste as text, Clear formatting, Special character, Decrease indent and Increase indent.
Now without further delay, let’s dive right into the content.
How to Add WYSIWYG Field in a WordPress Registration Form?
A good tool like User Registration is self-explanatory and very easy to use. But going through this tutorial is wise to ensure a solid understanding.
Step 1: Install and Activate User Registration Pro
You can easily create simple forms with the free version of the plugin. However, the WYSIWYG field comes under the Advanced Fields section.
And to unlock this field, you’ll require the Advanced Fields add-on, which only comes with the premium plan of the plugin.
Just visit the plugin’s official site, purchase a plan suitable for you, and you’re ready.
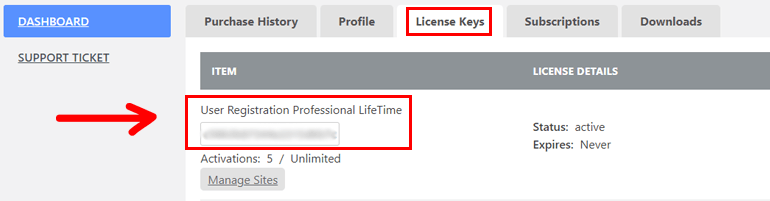
After that, you’ll receive a link to your email. Follow the link and get access to your account dashboard.
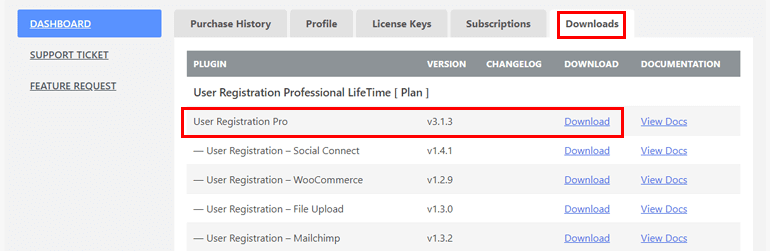
From there, you can download the pro version of the plugin and get the license key under the License Key tab.
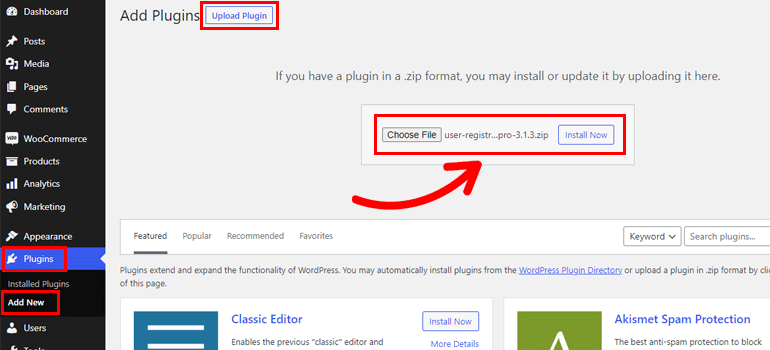
Next, return to your WordPress dashboard and navigate to Plugins >> Add New. And simply click on the Upload Plugin button.
Next, choose the User Registration Pro zip file you downloaded before and hit Install Now.
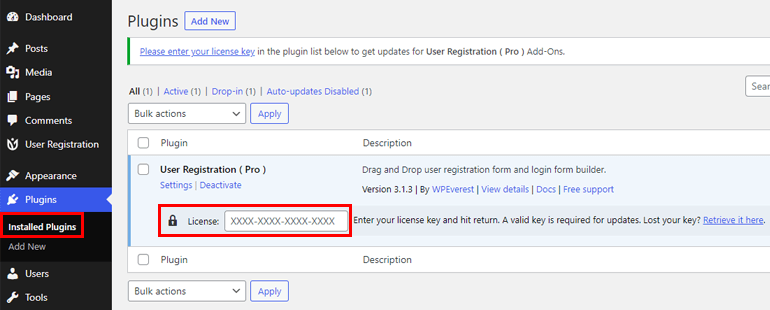
Now, paste the license key in the required area and Activate the plugin on your site.
If you need the entire installation and setup process in detail, follow this link on how to install User Registration pro.
After the successful setup, you can move on to the next step.
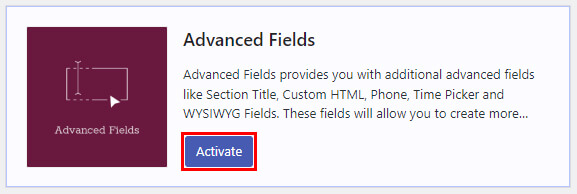
Step 2: Install the Advanced Fields Add-on
After purchasing the premium plan, you can easily access the Advanced Fields add-on.
Navigate to User Registration >> Extensions and search for Advanced Fields.
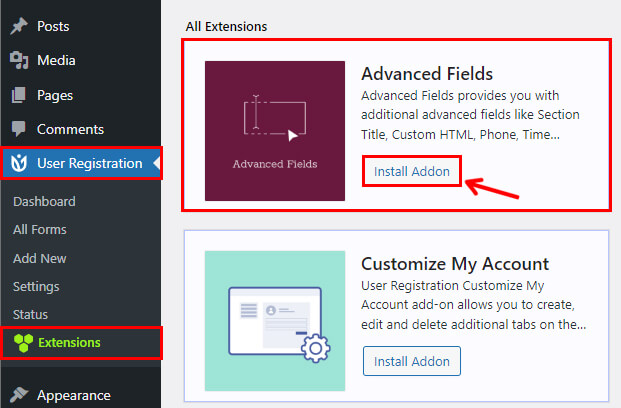
Next, click on the Install Add-on button and press Activate sequentially. And just like that, you have your Advanced Fields add-on.
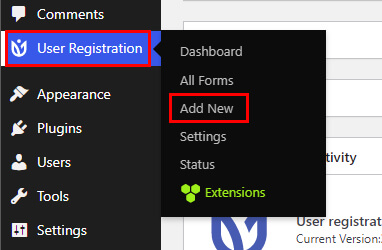
Step 3: Create a New Form
Now, the next step is to create a new form. Within your dashboard, go to User Registration >> Add New.
Here, you’ll see tons of free-built templates and an option to build your form.
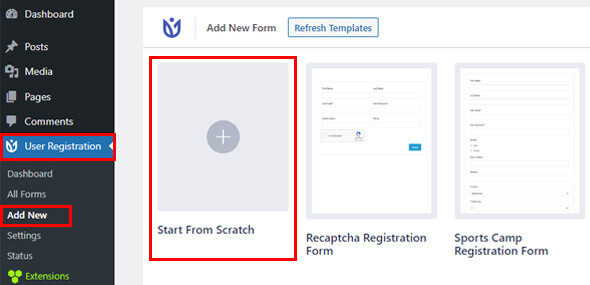
So, click on Start From Scratch to start the form from the beginning, or select the pre-built template to save your time.
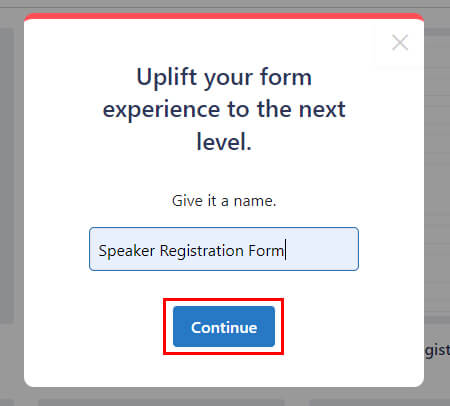
For this tutorial, let’s create a Speaker Registration form from scratch.
You’ll be asked to name your form immediately after you do this. So, enter the proper form name and press Continue.
Step 4: Add a WYSIWYG Field on Your Form
Here comes the most crucial step, adding a WYSIWYG field on your form.
So, add all the necessary fields on your form.
To add a WYSIWYG field, drag it from the Advanced Fields on the right and drop it to the form builder canvas on the left.
You can add as many fields as you require following the same process.
After you select the field, the Fields Options will appear. You can customize each form field from this section.
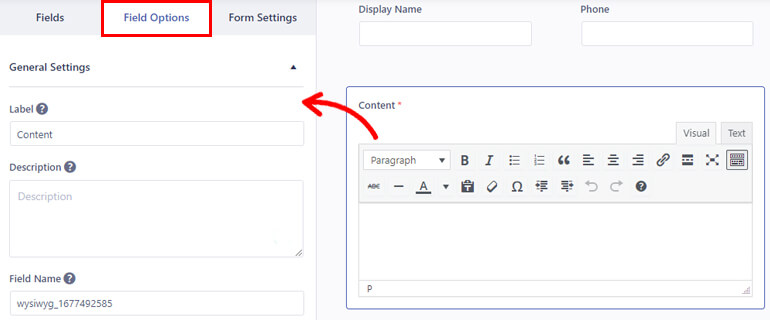
You can make changes in the field options, as explained below.
- Label: Give a suitable title for your field. Like Notes, Request, etc.
- Description: Add the description you want to include in your form.
- Field Name: This area contains the id of the field. You can leave it as it is or change it to your preference.
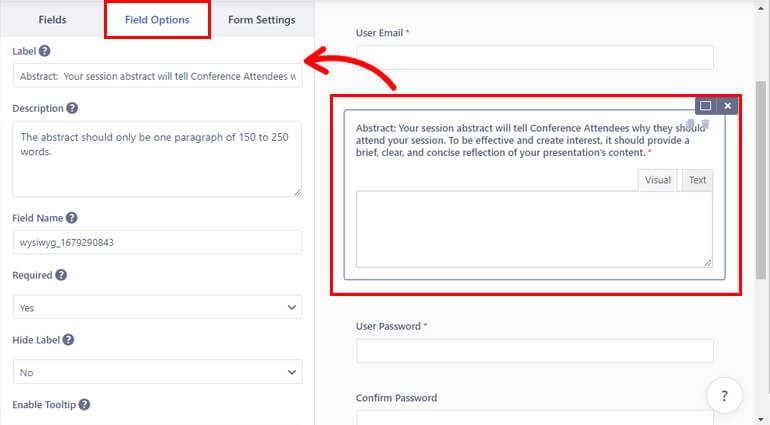
- Required: You can mark the WYSIWYG field required simply from the drop-down.
- Hide Label: You can also hide the field label from the drop-down. Simply select Yes or No.
- Enable Tooltip: Enable the tooltip to show information about the field to users.
Similarly, customize the field options for the rest of the fields.
Note: Most of the form fields have similar field options. However, a few options might slightly differ depending on the field. So, customize accordingly.
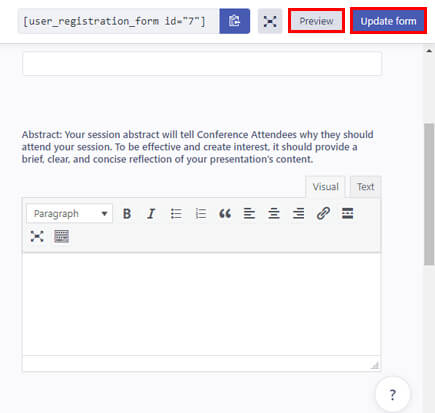
After making all the changes, you can save the form by clicking on Update form at the top. Likewise, click Preview if you want to see how your form looks on the front-end.
That’s it for the field customization part. You can move ahead with the process.
Step 4: Configure Forms Settings
After customizing the form field, it’s time you configure forms settings.
You’ll find the Form Settings options next to Field Options. You can configure the General settings and Extra settings from here.
From General settings, you can change the User Approval and Login Option. You can set custom approval and login criteria for your users among the options from the drop-down.
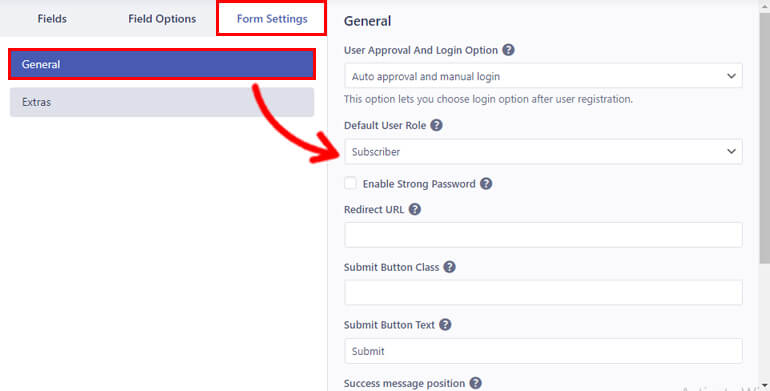
Then, there’s Default User Role to set the role of the users that register in your form. You can choose from the six default user roles.
Similarly, you can Enable the Captcha Support option to protect your form from bots and spam.
Besides, there are several other options like Submit Button Class, Submit Button Text, Success message position, etc.
Now just like General settings, you can configure Extra settings of your form.
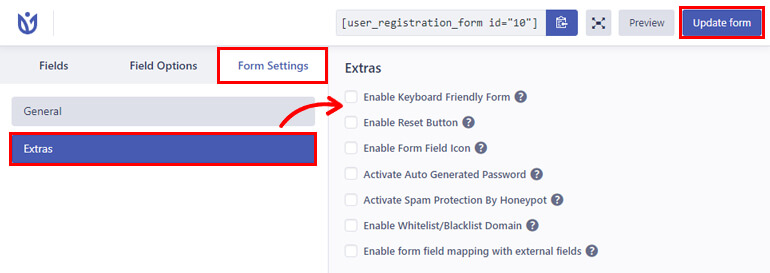
You’ll find various important protection options, such as:
- Activate Auto Generated Password for users
- Activate Spam Protection by HoneyPot
- Enable Whitelist/Blacklist Domain, etc.
Similarly, you can Enable the Keyboard Friendly Form and Enable Reset Button for an excellent user experience.
You can also change the label of your reset button from the Form Reset Button Label.
Moreover, you can Enable form field mapping with extra fields to make the User Registration plugin compatible with external plugins.
That’s it for the settings part. Again, click on Update form to save all your changes.
Step 5: Display the Form on Your Site
Finally, it’s time to publish the registration form with the WYSIWYG field for users to fill in on your site.
To embed the form on your site, go to Post/Pages >> Add New.
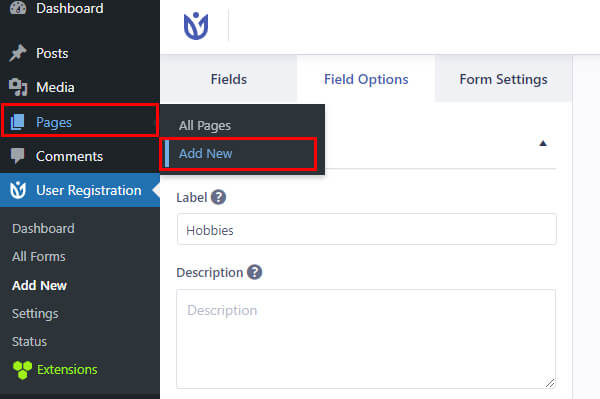
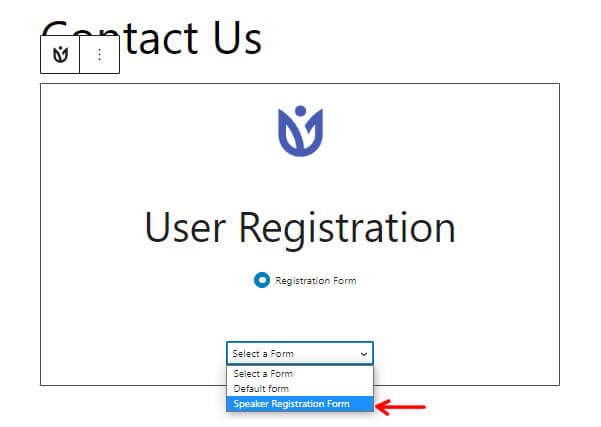
Next, click the Add Block (+) button and search for the User Registration block. Then, add it to the page by clicking on it.
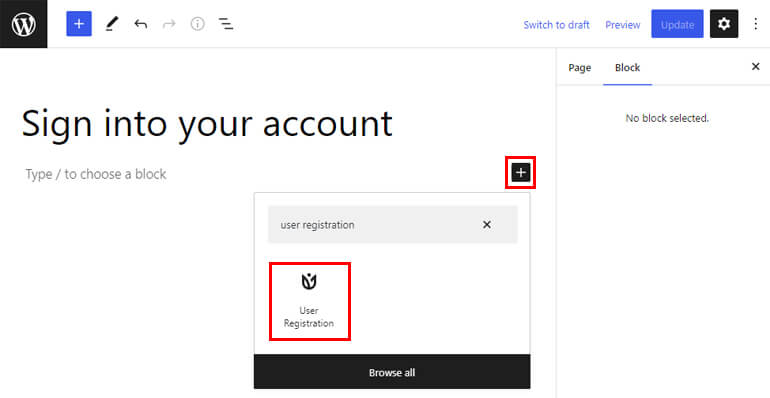
After that, select your WordPress Speaker Registration Form from the drop-down menu.
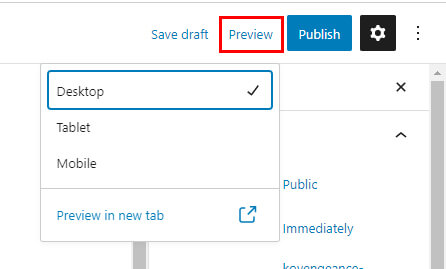
You can have the final preview of the form with the Preview button at the top.
Below is the image of how your form is going to look.
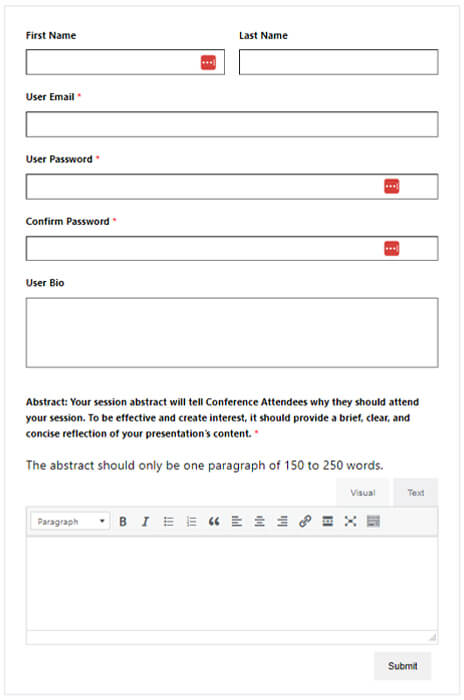
And finally, if you think your form is fully ready, you can hit Publish.
Final Thoughts!
That’s it for our article on how to add WYSIWYG field in a WordPress registration form.
We hope this guide helped you to understand what WYSIWYG is and how it works on the User Registration plugin.
User Registration is by far the best choice when it comes to making your website exclusive. It’s loaded with all the essential features a registration plugin should possess.
There are more unique features of User Registration, some of which are:
- Redirections and content restrictions
- Invitation codes for exclusive invites
- Spam-free features for a safe and secure space
- Payment gateway integrations
- Custom email templates
That’s just some of its features. Besides, the application of this plugin is limitless. To learn more about this plugin, visit the official site.
Next, if you want to set a password field in your WordPress registration form, check our guide how to add password field in WordPress registration form.
Likewise, you can also approve users in WordPress after front-end registration.
You can read more wonders about this powerful plugin on our blog. And for easy video tutorials, you can subscribe to our YouTube channel.
If you have any suggestions or queries about the plugin, contact us via social media. We’re available on Facebook and Twitter.


![Zakra 3.0 | Zakra Pro 2.0 Release [Major Updates!]](https://i.ytimg.com/vi/g3rifl7kWvg/maxresdefault.jpg)