Wondering how to add WYSIWYG field in WordPress Forms? Well, stick with us till the end to find out exactly how.
Simply put, WYSIWYG (pronounced wiz-ee-wig) is an editing software. This incredible tool shows you what a piece of content is going to look like after you publish it.
Likewise, in a WYSIWYG form field, the text you type into the editor resembles the appearance of the published text. And if you want a WYSIWYG field in your form, we’re here to help.
In this article, we’ll explore the WYSIWYG field and the steps to add it to a form. Let’s start!
Table of Contents
What is a WYSIWYG Field and Why do You Need It?
WYSIWYG, short for What You See Is What You Get, is an editor used across most WordPress sites. This editor enables users to manipulate the layout or content without having to type any command.
For instance, when users write a document using a word processor, it uses WYSIWYG. This replicates what they create, edit, or format in the printed document or PDF file.
Thus, adding a WYSIWYG field to your WordPress form provides an editor for your users. They can type in any content they want into the field and format it accordingly. With a WYSIWYG field, you can:
- Let users submit guest posts through a front-end form.
- Let users view what the content will look like once published while editing.
- Enable users without programming knowledge to use this editor.
With that said, you must also have a tool that lets you add a WYSIWYG field without any hassle. And Everest Forms is the perfect plugin for this! It’s a drag-and-drop WordPress form builder that offers a WYSIWYG field. You can add this field to your form for any purpose necessary.
Thus, we’ll use this plugin to show you how to add a WYSIWYG field to forms.
How to Add WYSIWYG Field in WordPress Forms?
Step 1: Install and Activate Everest Forms and Everest Forms Pro
The first thing you need to do is set up Everest Forms and Everest Forms Pro on your WordPress dashboard.
Yes, you’ll require the pro version of the plugin. That’s because the WYSIWYG field is unlocked only with the premium version.
For a detailed guide, go through our article on how to install Everest Forms Pro.
Step 2: Create a New Custom Form
After the plugin installation is complete, open Everest Forms >> Add New. In the Add New Form page, you’ll find a collection of pre-built form templates. However, you can also start from scratch.
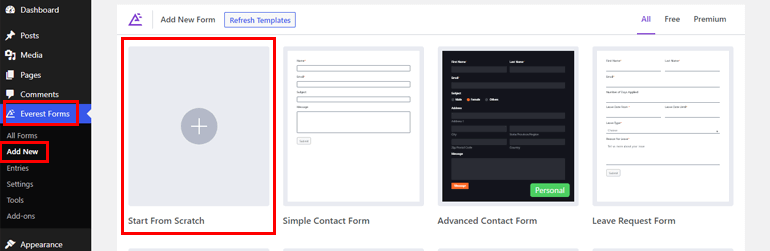
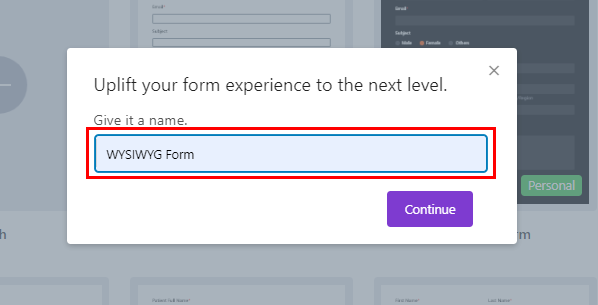
In this tutorial, we’ll be starting from scratch. So, click on Start From Scratch and name your form. Here we’ll name it “WYSIWYG Form” and press Continue.
You can build any type of form according to your requirements; it can be a contact form, leave request form, guest post form, etc.
All you have to do is drag and drop the necessary fields into the form editor and click Save.
Step 3: Add & Customize the WYSIWYG Field in Your Form
Adding a WYSIWYG field using Everest Forms in your form is a piece of cake. Simply drag and drop the WYSIWYG field from the Advanced Fields to the form.
Furthermore, you can customize the WYSIWYG field. You just have to click on the field and its Field Options will appear on the left.
Next, you can make changes in the field options as explained below:
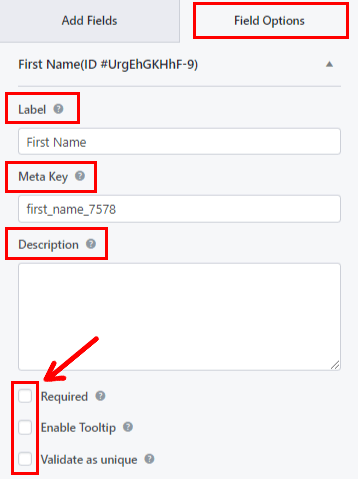
- Label: Here, you can change the field’s label by entering what you want your Label to be.
- Meta Key: Meta key stores the field data in your database and retrieves it when necessary.
- Description: You can enter text for the form field description here.
Next up you can simply check on Required, Tooltip, and Validate as unique if you want these options enabled.
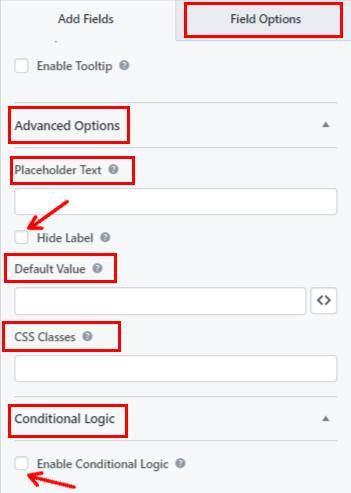
Scroll down for the Advanced Options where you’ll find:
- Place Holder Text: You can enter the text for the form field placeholder. For example, we’ve written, “Type your message here.”
- Hide Label: You can simply check this option to hide the field label.
- Default Value: Here, you can enter text for the default form field value or simply choose the required field by clicking on the <> button.
- CSS Classes: You can also add custom CSS classes for further customization.
If required, you can even apply conditional logic to the field with the Enable Conditional Logic option.
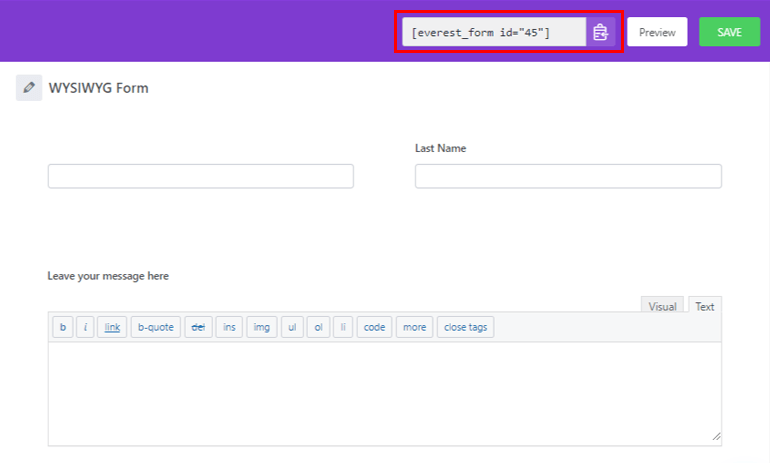
Finally, you can hit the Save button at the top. If you want a preview of your form, click on Preview.
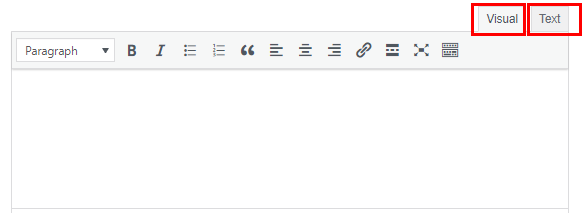
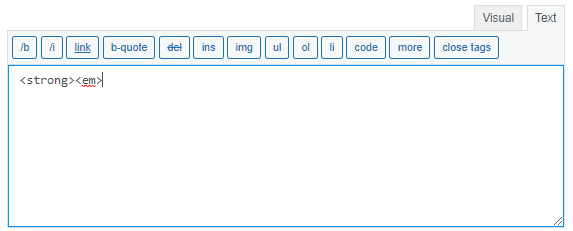
As you can see, the WYSIWYG field of Everest Forms lets your site users switch between two modes:
- Visual: Images and text are displayed directly in the text editor.
- Text: Images and text are displayed in the HTML format.
Here’s the list of toolbar option you’ll find for the Visual mode in the WYSIWYG field:
- Bold
- Italic
- Bullet list
- Number list
- Block quote
- Align left
- Align center
- Align right
- Insert/edit link
- Insert Read More tag
- Full screen
To display additional options, click on the ToolBar Toggle icon.
Here’s a list of all the additional options that are available:
- Strikethrough
- Horizontal line
- Text color
- Paste as text
- Clear formatting
- Special character
- Decrease indent
- Increase indent
- Keyboard shortcuts
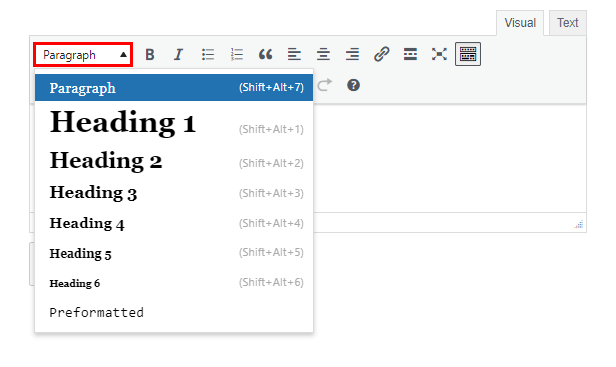
Additionally, users will be able to select the text formats like Paragraph, Heading, etc. from the drop-down.
On the other hand, users must type HTML tags into the field if they choose the Text mode. There is a list of common HTML tags above the field that a user can directly add to the editor instead of typing them out.
Step 4: Configure Your Form Settings
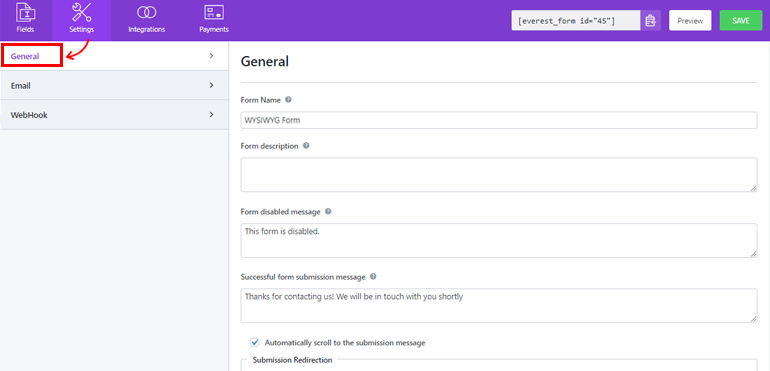
Next, open the Settings tab of the form to configure your form’s settings. Here, you’ll find 3 sections with various customization options.
General: With the General settings, you can edit Form Description, Form Disabled Message, Enable Conditional Logic, Layout Designs, etc.
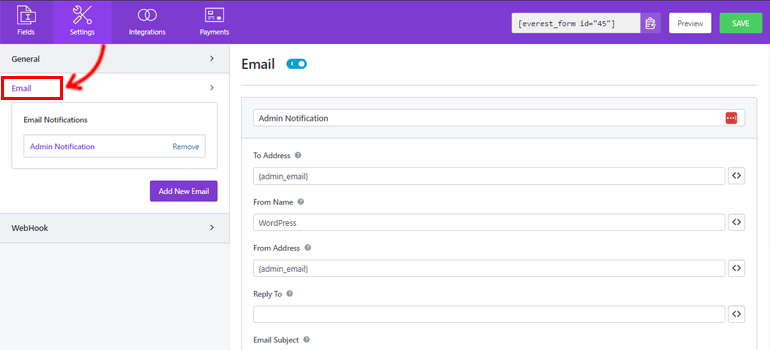
Email: The Email settings allow you to create admin and user email notification templates.
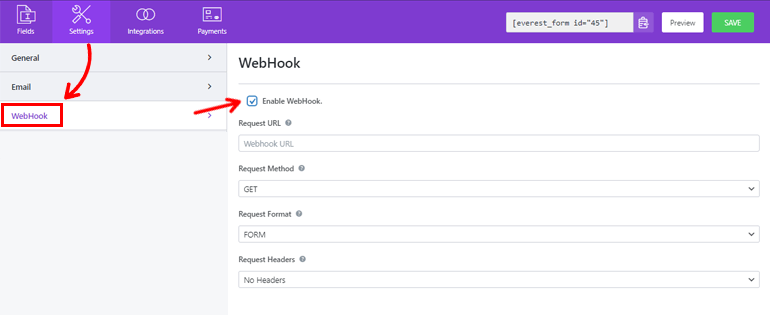
WebHook: Using a WebHook, you can send the form data to any external URL. All you have to do is set the Request URL, Request Method, Request Format, and Request Header.
Finally, you can hit the Save button.
Step 5: Display Your Form on the Website
You’ve successfully created your form using Everest Forms to add a WYSIWYG field. But it won’t be visible to your users unless you display your form on your WordPress website.
Hence, to add the form to your site, you can use any of these two methods.
The first way is by copying the shortcode of the form from the top of the builder.
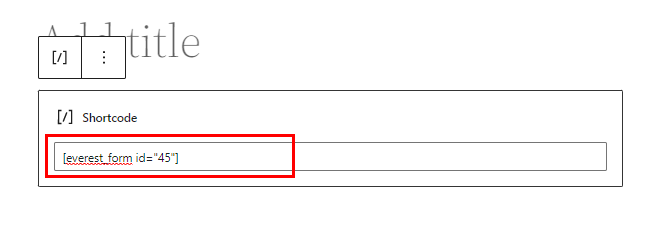
Then, create a new page or post, and you’ll get to the Gutenberg editor. Here, press on the Add Block (+) icon and search for the Shortcode block. Next, click on the block to add it to the page or post.

After that, paste the shortcode you just copied into the block, and click on the Publish button.
That’s it! Your form will be displayed on your site.
Alternatively, you can use Everest Forms block to display your form. Click on the (+) button and search for the Everest Forms block.
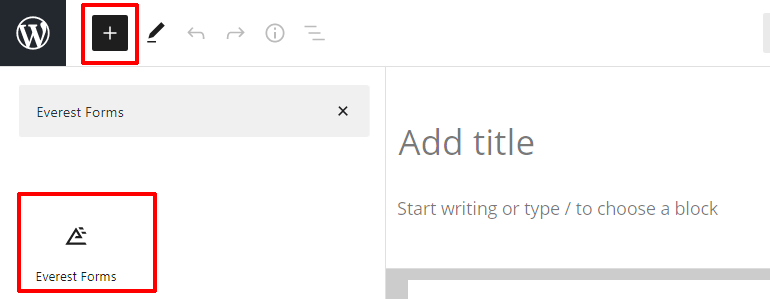
Add it to the page and select your WordPress WYSIWYG form from the drop-down.
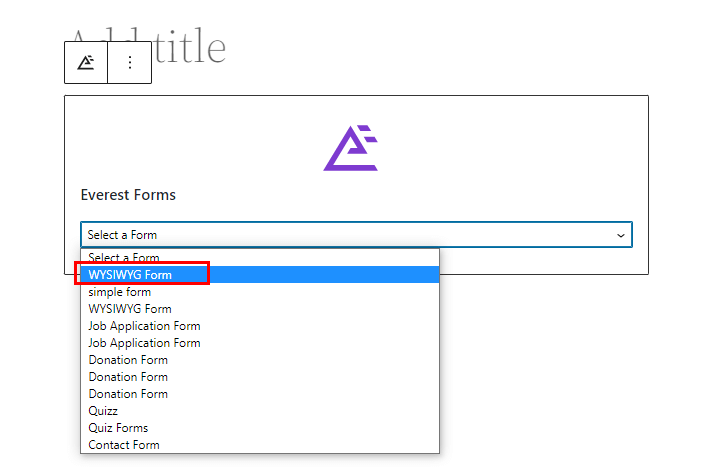
Finally, you can hit the Publish button at the top.
Wrapping it Up!
And that’s a wrap for our guide on how to add WYSIWYG field in WordPress Forms. All you need is the amazing Everest Forms plugin. You can simply drag and drop the WYSIWYG field into your form and customize it without any hassle.
That’s not all you can do with Everest Forms. You can use this powerful plugin to enable entry preview in multi-part forms, enable conditional redirection after form submission, and more.
Read more about Everest Forms on our blog if you’re interested. You can also visit our YouTube channel for easy video tutorials.
Also, don’t forget to follow us on Facebook and Twitter for future updates.


![Zakra 3.0 | Zakra Pro 2.0 Release [Major Updates!]](https://i.ytimg.com/vi/g3rifl7kWvg/maxresdefault.jpg)