Wondering how to create a custom WooCommerce registration form for your online store? If yes, this article is for you.
The default WooCommerce registration form may not be suitable for everyone. In such a case, you must build your own custom WooCommerce registration form. And since WooCommerce doesn’t let you make custom forms, you’ll require a third-party tool.
So in this article, we’ll explore the best way to create a WooCommerce registration form and the complete process to do so. Let’s start!
Table of Contents
The Default WooCommerce Registration Form
The default WooCommerce registration form has minimal fields for your customers to fill in. You can only place email, password, and username fields in the form.
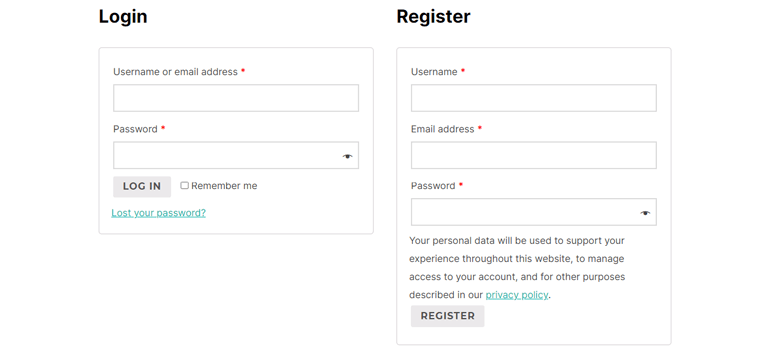
These three form fields aren’t enough to collect substantial information about your customers. You’ll have to rely on extensive coding if you want to add any custom fields to a WooCommerce registration form.
And for those who don’t have any coding knowledge, you’ll need a third-party plugin. We recommend this method if you feel like coding is too much hassle.
The WordPress market offers a fantastic collection of third-party plugins you can use to create a custom WooCommerce registration form. We’ll talk about one such plugin in the following section.
Best Way to Build a Custom WooCommerce Registration Form
When it comes to custom registration forms, User Registration is the best plugin you can depend on. It’s a popular registration form plugin with a beginner-friendly drag-and-drop builder.
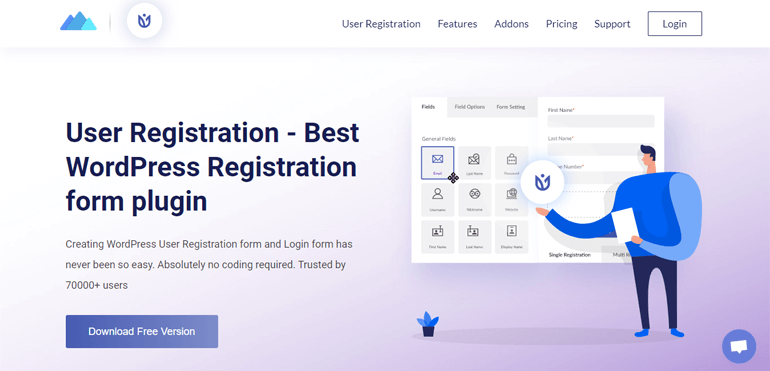
Moreover, you get robust features to help you customize and protect your registration and login forms.
But best of all, it supports seamless integration with WooCommerce. On top of that, the premium version of User Registration offers the WooCommerce add-on. You can create custom WooCommerce registration forms with shipping and billing addresses using this extension.
Including the shipping and billing address in your registration form removes the inconvenience of a lengthy checkout process for users. The address data provided during registration is retrieved during checkout so that users don’t have to fill in the fields.
Besides improving user experience, it helps significantly reduce cart abandonment on your WooCommerce store.
That’s why we recommend using User Registration to build a WooCommerce registration form for your store.
How to Create a Custom WooCommerce Registration Form?
Before we proceed with the steps below, let us remind you that your site must have the core WooCommerce plugin installed and activated on your site. So, we suggest you install WooCommerce and set up your online store if you haven’t already.
1. Set Up User Registration Pro
First, let’s install the User Registration Pro plugin. The WooCommerce add-on is only available in the premium version of the User Registration plugin.
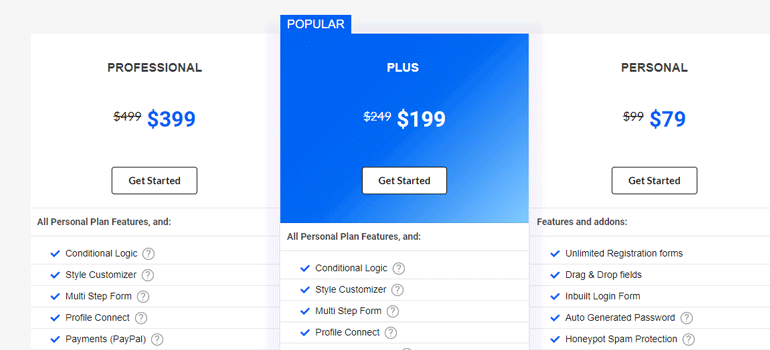
That’s why you must buy a premium plan from User Registration’s official pricing page. You can choose from any of the three pricing plans available.
After the purchase is complete, log into your WPEverest account. You’ll receive the login details in the email address you provided during the purchase.
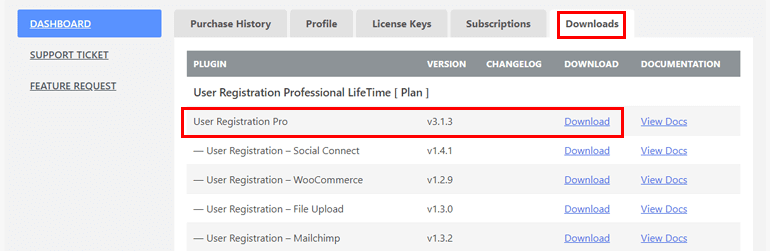
In your dashboard, open the Downloads tab and download the User Registration Pro file.
Then, log into your WordPress website dashboard and navigate to Plugins >> Add New >> Upload Plugin.
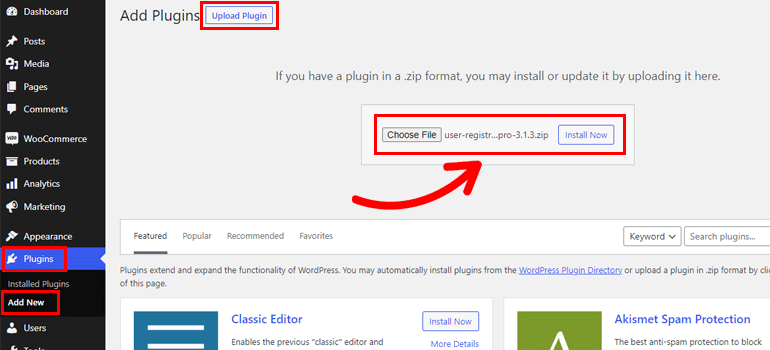
Choose the ZIP file you just downloaded, and press Install Now. Complete the installation process by clicking the Activate button.
Next, a setup wizard will appear on your screen. You can skip it and go back to the dashboard or start the form building instantly.

However, we recommend you complete the setup process if you’re a new user. For that, click Get Started.
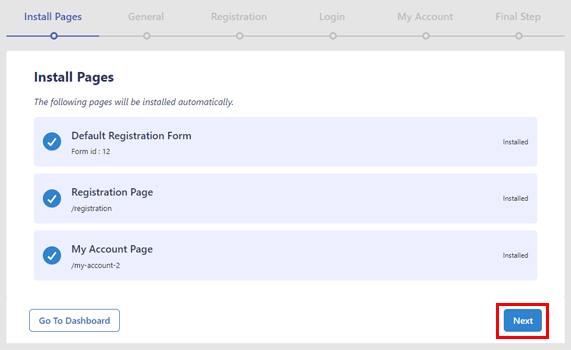
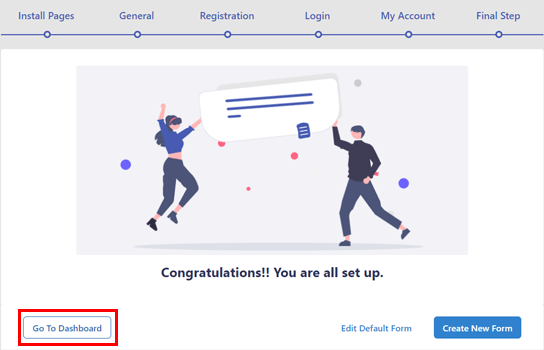
Install Pages: The first step asks you to install the pre-built Default Registration Form, Registration Page, and My Account Page so that you don’t have to create them from scratch.
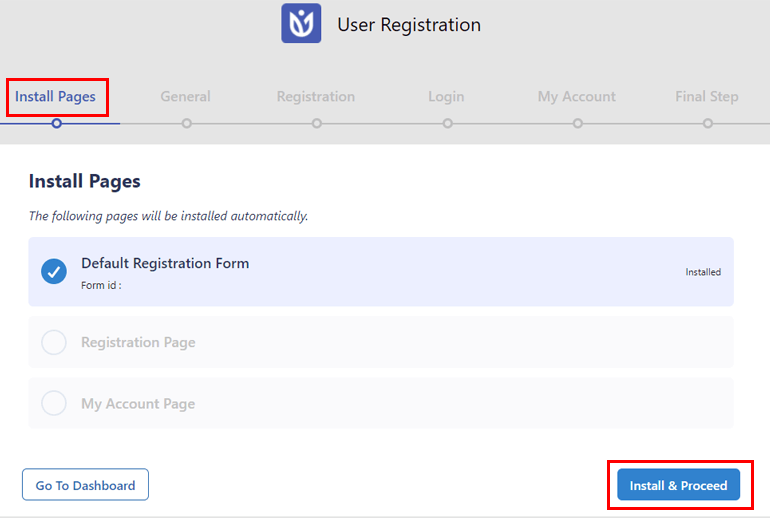
So, click Install & Proceed, and press Next when the installation is complete.
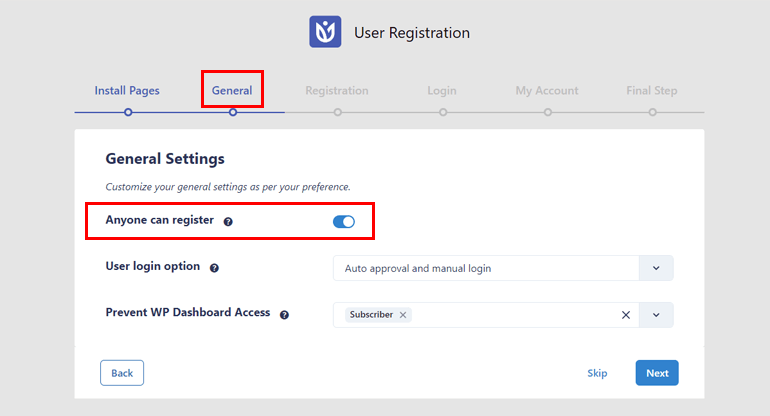
General: Here, you can choose a user approval and login option and prevent dashboard access to specific user roles. Most importantly, make sure the Anyone can register option is enabled. This ensures that users can fill and submit the front-end registration forms you create with User Registration.
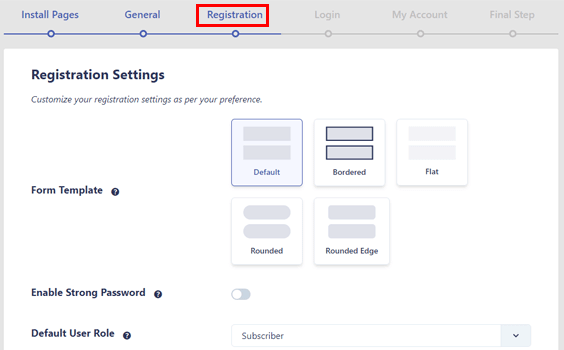
Registration: This step lets you select a form template, default user role, and enable a strong password. Hit Next to go to the following step.
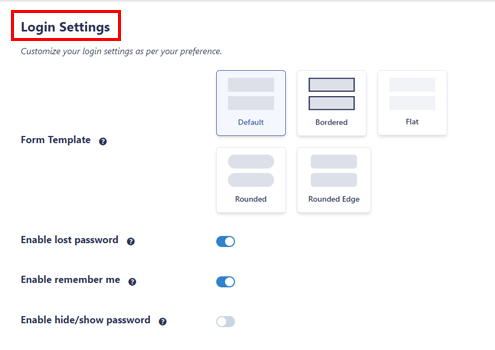
Login: Likewise, you can also choose a form template for the login form. Plus, you can enable lost password, remember me, and hide/show password options.
My Account: This step helps you set a My Account page layout. You can also choose to disable the profile picture feature.
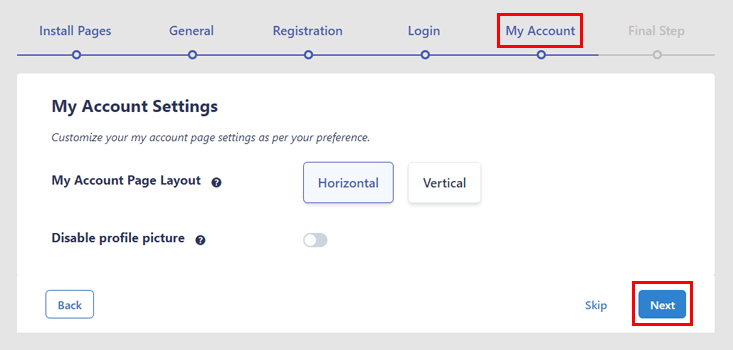
Complete the setup process by clicking Next. Now, click on the Go To Dashboard button.
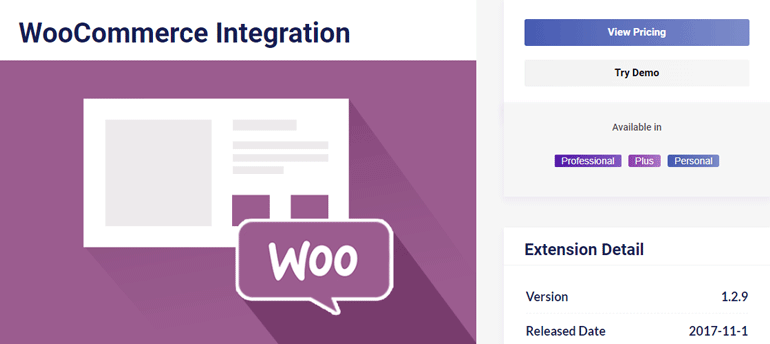
2. Install and Activate the WooCommerce Add-on
The next step is to install and activate the WooCommerce add-on available in User Registration Pro.
Before that, let’s enter the license key for User Registration Pro. You’ll find this key under the License Keys tab in your WPEverest account.
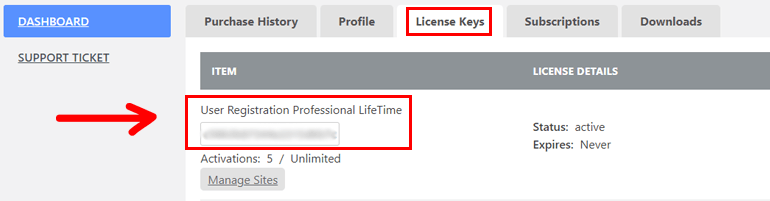
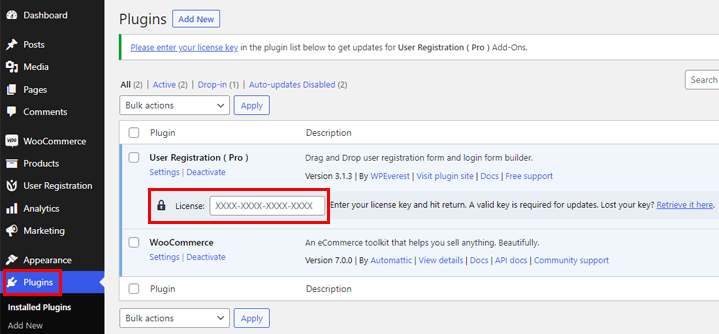
Copy the key and open Plugins >> Installed Plugins. Paste the key into the field and press enter. You now have a valid license for your User Registration Pro plan.
After that, go to User Registration >> Extensions.
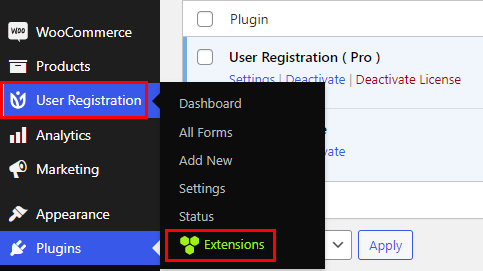
Here, find the WooCommerce add-on and click on the Install Addon button. Then, press Activate.
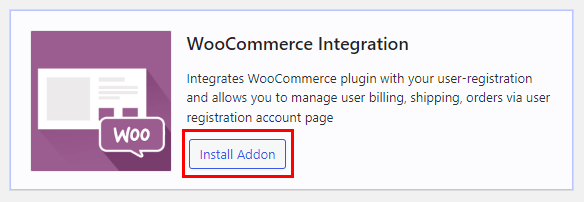
As quick as that, you’ve installed and activated the WooCommerce add-on for your WordPress site.
3. Create a WooCommerce Registration Form
Now, it’s time to create a custom WooCommerce user registration form. You’ll later replace the default WooCommerce form with this one.
Start by navigating to User Registration >> Add New, and you’ll end up on the User Registration form builder interface.
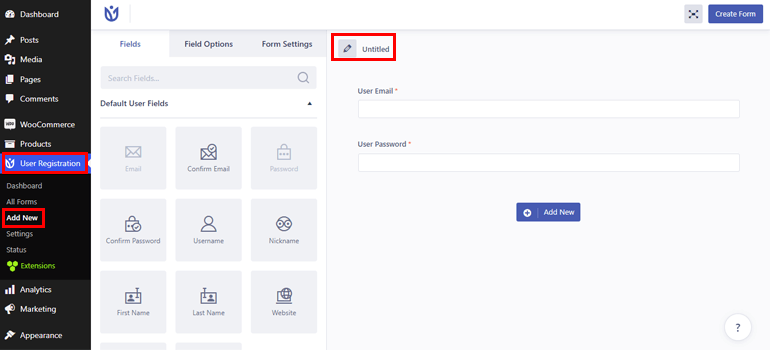
First, give your form a name, like “WooCommerce Registration,” by clicking on the pencil icon.
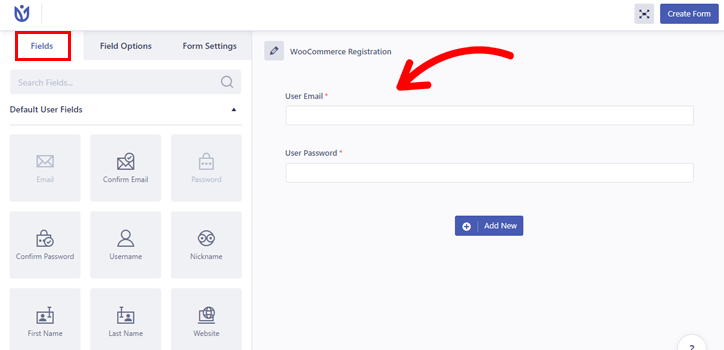
The form has two default fields on the right: User Email and User Password. You can drag and drop any other field you need from Fields on the left.
User Registration offers numerous custom fields like Confirm Password, Display Name, Secondary Email, Privacy Policy, and more. So, you can collect any crucial information you need from your customers.
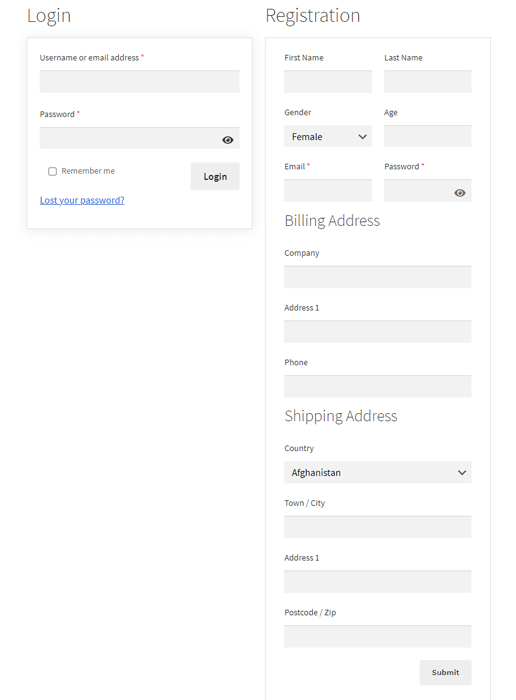
You can even add the following billing and shipping address fields in the registration form:
WooCommerce Billing Address
- Billing Address
- Country
- First Name
- Last Name
- Company
- Address 1
- Address 2
- Town/City
- State/County
- Postcode/Zip
- Phone
- Separate Shipping
WooCommerce Shipping Address
- Shipping Address
- Country
- First Name
- Last Name
- Company
- Address 1
- Address 2
- Town/City
- State/County
- Postcode/Zip
Moreover, User Registration lets you customize each form field you’ve added to your form. Just click on the field you want to customize, and its Field Options will appear on the left.
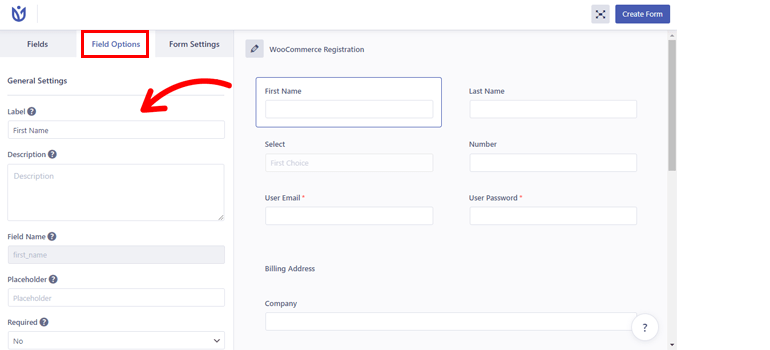
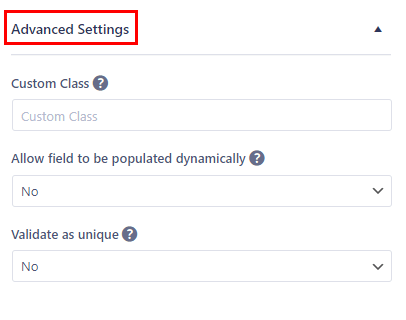
You can edit the field’s Label, Description, Placeholder, and so on. You can also add custom CSS classes in the Advanced Options. Do note that the customization options available might vary depending on the field.
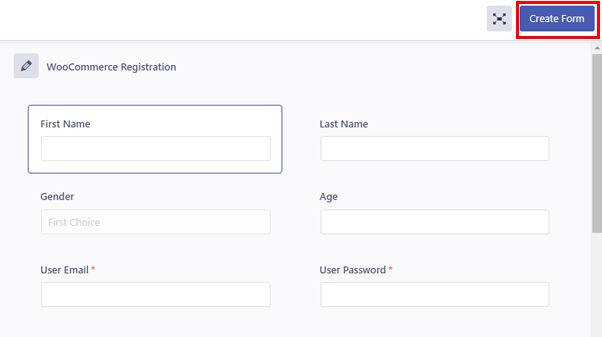
When the form is complete, press the Create Form button at the top.
4. Configure the Registration Form Settings
Besides form building, setting up the form settings is equally important. You’ll find the General and Extras settings in the Form Settings tab.
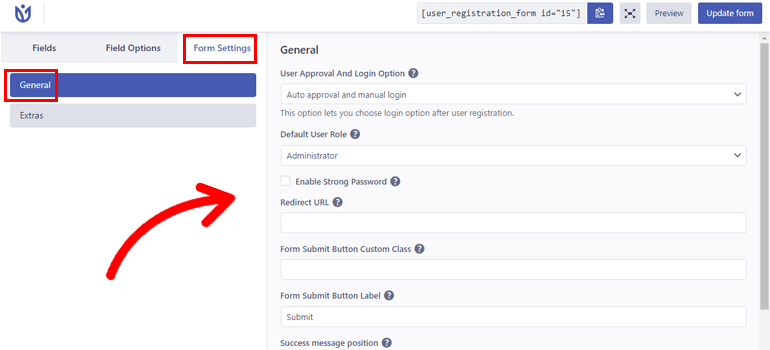
General: The General settings allows you to change login options, redirect URL, success message position, etc.
Extras: You can enable a keyboard-friendly form, reset button, form field mapping with external fields, etc.
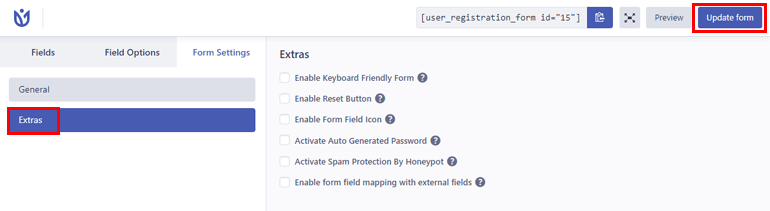
When you’re done with the editing, click on Update form.
5. Replace the Default WooCommerce Registration Form with the Custom One
By default, your online store will display WooCommerce’s registration form. So, you’ll need to replace the default form with the custom one you created in the steps above.
For that, open WooCommerce >> Settings >> Accounts & Privacy.
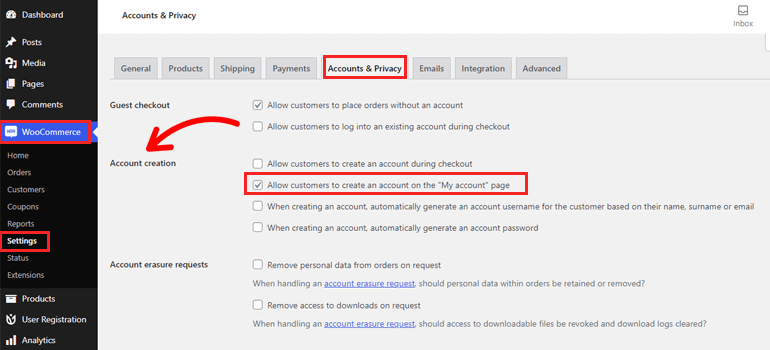
Under Account Creation, find the option that says “Allow customers to create an account on the “My account” page” and tick its checkbox. Then, scroll down to the bottom of the page and click Save changes.
Just like we enabled front-end user registration in User Registration, you must do the same in WooCommerce. This enables your customers to register using a front-end WooCommerce registration form.
After that, open User Registration >> Settings >> WooCommerce. Select the custom WooCommerce Registration form from the dropdown and tick the Replace registration page option. You can even sync this form with the WooCommerce checkout registration page if you need.
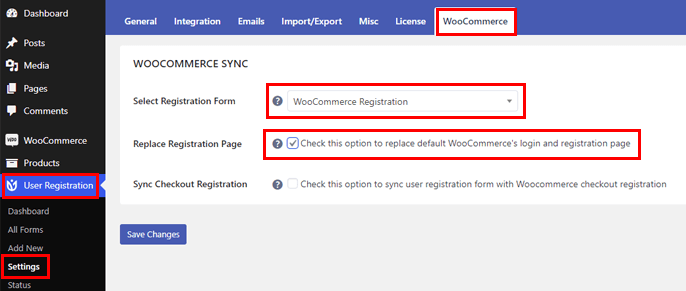
Finally, hit Save Changes. This will now replace the default registration and login forms with User Registration’s in-built login form and the custom registration form.
6. Set Up the WooCommerce My Account Page
Both WooCommerce and User Registration have their own pre-built My Account pages. So, this may cause a conflict when a customer navigates their account profile.
To avoid such issues, you must choose either the WooCommerce My Account page or the User Registration My Account page as the default.
We recommend using User Registration’s My Account page since it has a beautiful layout that’s easily customizable.
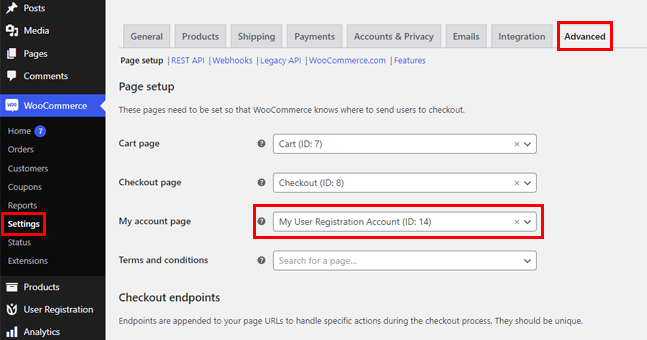
For that, open WooCommerce >> Settings >> Advanced. Under the Page setup section, find the My account page option. Choose User Registration’s My Account page from the dropdown and save the changes.
Your online store will now display the User Registration account page when a customer logs in. And with that, you’re done!
Wrapping Up
Since the form fields in the default WooCommerce registration form are so limited, you’ll need to create a custom form with extra fields. And User Registration is the perfect solution.
It lets you add any necessary fields to your registration form. You can then replace the default form with the custom registration form you create with User Registration.
But that’s not all. You can use this fantastic feature-rich plugin to prevent spam registrations, change the default login URL, restrict content to users, etc.
To read more about User Registration, visit our blog or the official documentation page. Also, follow us on Twitter and Facebook to stay updated.


![Zakra 3.0 | Zakra Pro 2.0 Release [Major Updates!]](https://i.ytimg.com/vi/g3rifl7kWvg/maxresdefault.jpg)