Are you looking for ways to send a WordPress confirmation email after form submission?
Look no further! In this WPEverest tutorial, we will show you how to send an automatic response in WordPress after form submissions easily.
What is a Confirmation Email?
A confirmation email is an auto-reply email that is triggered by a specific user-based action. After performing certain actions like logging in or form submission, users receive an email that confirms the action.
Table of Contents
Why is Confirmation Email Important?
One of the main purposes of a confirmation email is the validation of the user’s action on your website. For example, after submitting a contact form, users receive an email confirming the form submissions.
You can automatically send a WordPress confirmation email for any event on your website. So, there are different types of confirmation emails such as Order Confirmation, Booking Confirmation, Newsletter Signup Confirmation Email, and User Registration Confirmation Email.
Other than this, there are many reasons why you need to send confirmation emails on your WordPress site.
- Improve Email Marketing List with a double opt-in option.
- Add instructions on the email to guide the users.
- The Click-through rate is high.
- Promote your products better.
How to Send WordPress Confirmation Email after Form Submissions?
Step 1: Choose a WordPress Form Builder Plugin for Confirmation Email
First of all, you need to choose a WordPress auto-reply email plugin. You can choose any of the form builder plugins that allow you to send confirmation emails to users. Here, we are using Everest Forms for this tutorial.
Everest Forms is the best WordPress form builder that allows you to create any type of form in a few clicks. It offers a bunch of features letting you build WordPress forms of your choice effortlessly.
- With Everest Forms (free version), you can easily send Confirmation Email in WordPress. You can automatically send contact form confirmation email and other admin emails.
- With Everest Forms Pro, you get this feature to create WordPress confirmation emails and an additional feature. With the Email Templates add-on, you can customize your confirmation emails or choose from the pre-designed email templates.
Step 2: Install and Activate Everest Forms
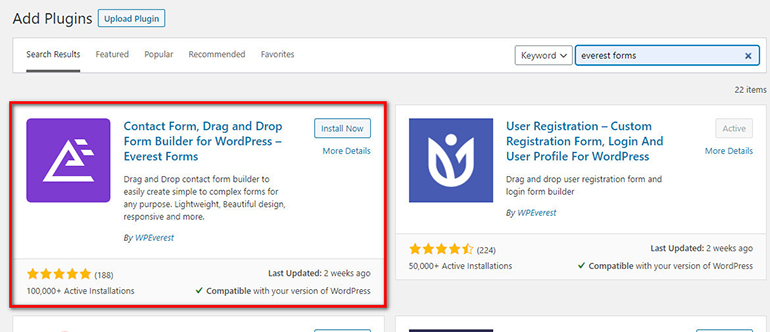
The free version of Everest Forms is available in the WordPress repository. So, you can easily install it on your WordPress site. Go to your WordPress dashboard -> Add New and search for Everest Forms. Then, click on the Install Now button and activate it after it is installed.
For a more detailed guide, you can check out our tutorial on how to install a plugin.
If you want the additional feature of Email Templates for confirmation emails, you’ll need the Pro Version of Everest Forms. There are various pro plans that you can choose from. So, you can purchase a plan that is suitable for you from the official site.
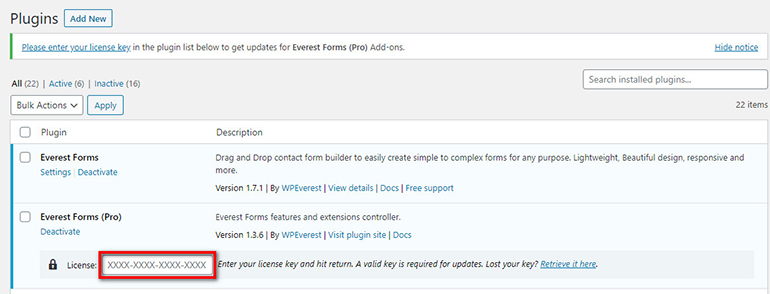
After you purchase the pro version, you will get a zip file of the plugin from your account page. (For details, you can click here.) Then, you can install and activate the plugin on your WordPress site.
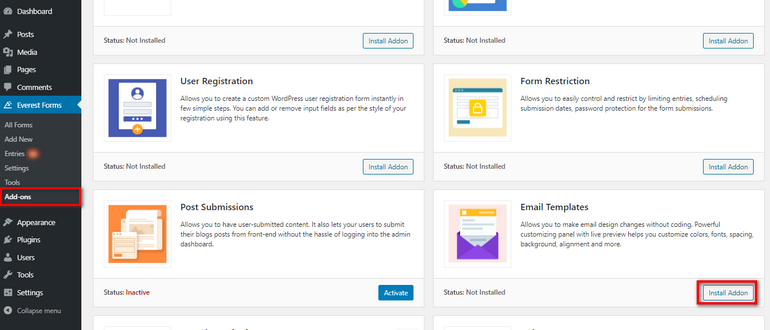
Now, you can install the Email Templates add-on which allows you to create custom email templates for your WordPress autoreply email. For this, go to Everest Forms -> Add-ons and click on the Install Addon button. After it is installed, you can activate the add-on.
Step 3: Create a WordPress Form
After you install and activate the plugin on your site, you can create a WordPress contact form or any other form. First, go to Everest Forms → Add New. Secondly, you can choose a form template or create from scratch.
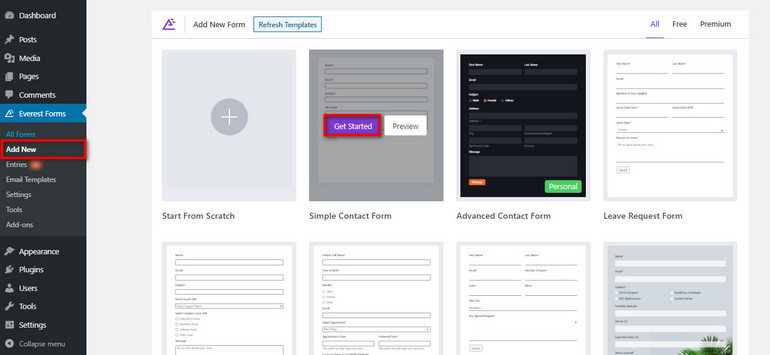
The easy drag-and-drop form builder allows you to add the form fields as per your requirements.
Step 4: Create Confirmation Email
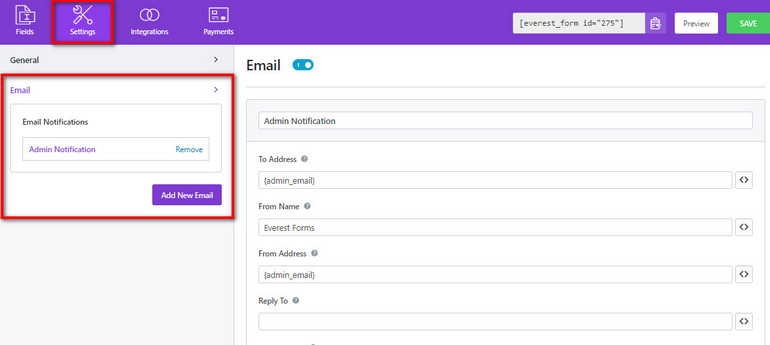
Once you are done with your form, you can create your WordPress confirmation email. For this, go to the Settings tab on the form builder and click on the Email Settings.
Here, you can see the Admin Notification is already set by default. You can change these settings as you require.
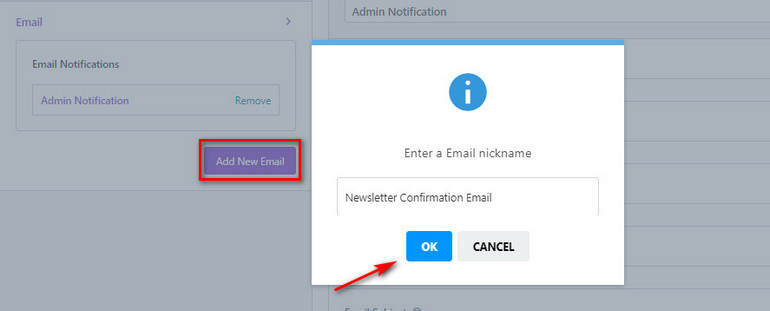
Also, you can add a new contact form confirmation email and other confirmation emails here too. Just click on the Add New Email button, give a name, and click on OK.
Step 5: Configure Confirmation Email
Now, you can easily configure your confirmation email according to your needs. On the right side, you can see the email notification options. So, you just need to configure these options correctly.

With the use of smart tags, you can easily fetch the email address you want such as Email, Site Admin Email, User Email. Also, you can add more than one email address by separating each email with a comma.
- To Address: This option allows you to choose the email address where you want to send the WordPress confirmation email after the users submit the form.
- From Name: Here, you can choose the Name that is displayed on the confirmation email to the user. So, you can use the smart tags and choose Site Name, Site URL, or other.
- From Address: This option allows you to choose the email address from where the emails are sent. So, you can use your admin email or other emails.
- Reply To: You can simply add the admin email here or other emails where you want the recipient to reply.
- Email Subject: If you want to add an email subject then, you can add it here.
- Email Message: This is the main body of your email. So, you can add the required content here for the confirmation email. Here, you can use the {all_fields} to display all the form fields information filled by the user.
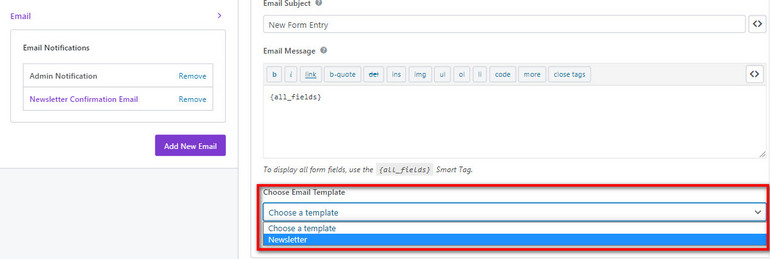
Step 6: Select Email Templates
The option to add an email template is only available in Everest Forms Pro. So, you need to purchase a pro plan for the Email Templates add-on.
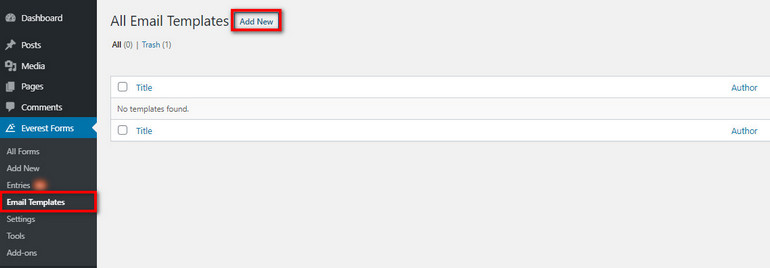
After you install and activate the add-on, go to Everest Forms → Email Templates and click on Add New to create your email template.
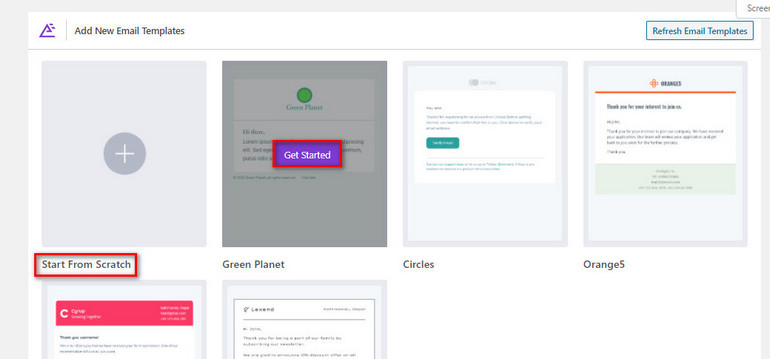
Then, you can see a set of pre-designed email templates. So, you can select any one of these or create your own.
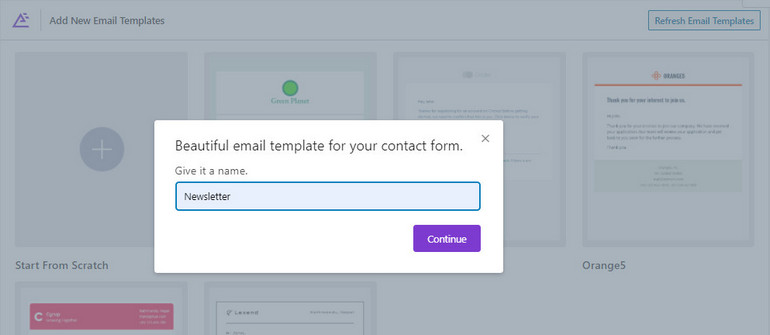
You can name the email template according to your preference. Also, you can edit the design of the email template and make changes.
Finally, you can choose the email template in the Email Settings for the confirmation email.
Step 7: Conditional Logic for Confirmation Email
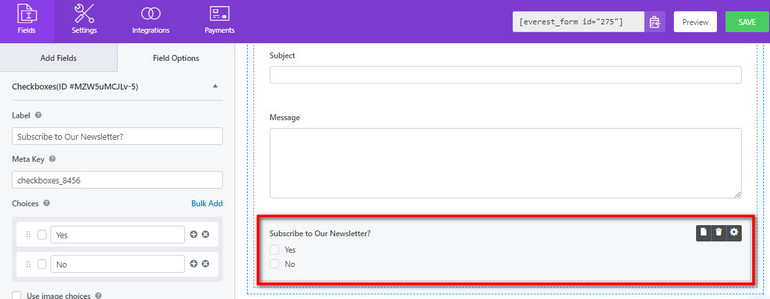
Additionally, you can use conditional logic to send or not send the confirmation email according to user choice or input. This is an example of how you can use conditional logic by using the Checkboxes field. And, you can edit the field in the field options by clicking on the field.
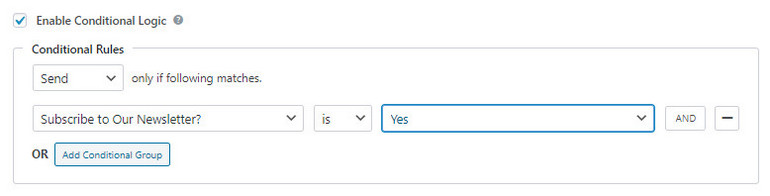
Now, go to the confirmation email settings again. Then, check the Enable Conditional Logic option on the bottom of the page. Now, you add conditional rules to send the confirmation email according to the user choice.
For more detailed information, you can check our Beginner’s Guide to Conditional Logic.
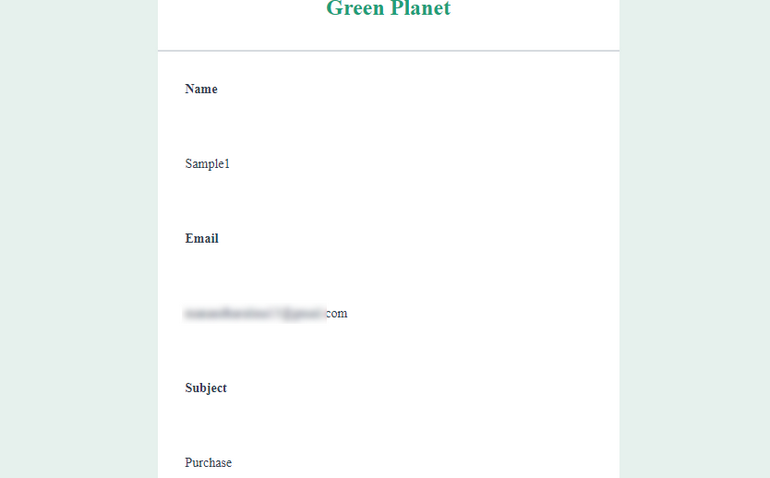
Test Confirmation Email
To see how your WordPress autoreply email is displayed to the recipient, you can send a test email. For this, click on the Preview button on the form builder and submit a form submission.
Summing up:
Therefore, Everest Forms allows you to send contact form confirmation email or other confirmation emails effortlessly. With the Everest Forms Email Templates add-on, you can easily create or choose an email template. This makes your confirmation emails more attractive and pleasing for users.
If you found this article helpful then, please share it on your socials. And, stay tuned for more WordPress tutorials like this.


![Zakra 3.0 | Zakra Pro 2.0 Release [Major Updates!]](https://i.ytimg.com/vi/g3rifl7kWvg/maxresdefault.jpg)