Want to know how to add extra fields to a registration form in WordPress? If so, this article will help you add extra custom fields in WordPress registration forms using a plugin.
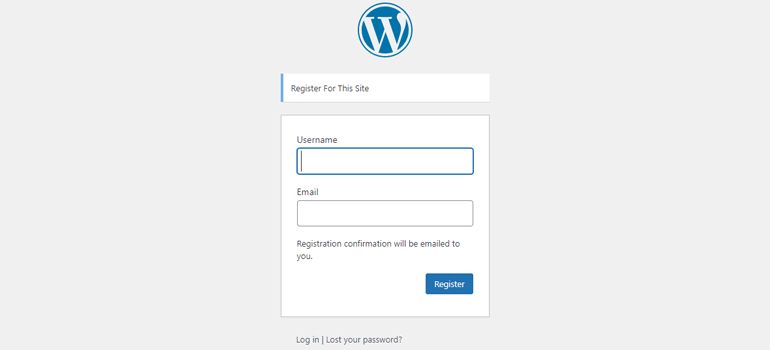
The default fields you get in the core WordPress registration form are email and username. These are by no means enough if you’re planning to collect detailed information from your users.
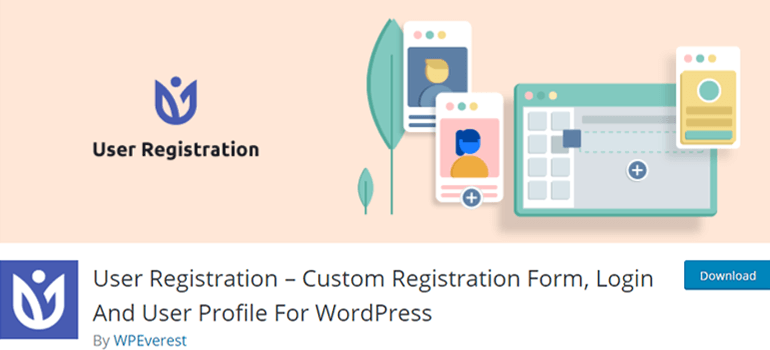
That’s why you’ll need a plugin like User Registration to add extra fields easily to registration forms. Interested? Then, read ahead to learn more.
Table of Contents
Best Way to Add Extra Fields to a WordPress Registration Form
As we mentioned before, the default fields you get in WordPress’s registration form may not be enough for you. Even worse, there’s no easy way to add extra fields to it unless you’re a developer.
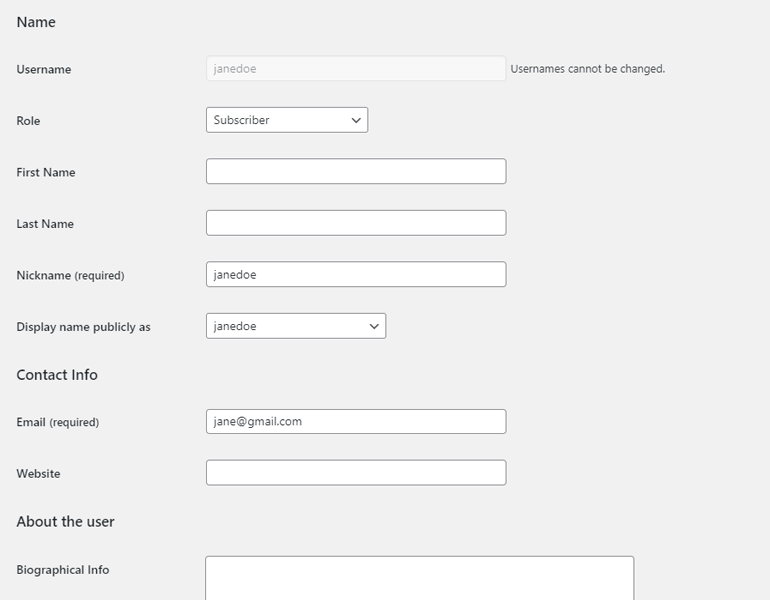
Of course, an admin can input information into first name, last name, display name, and biofields for each user from their profile page in the WordPress dashboard.
But, that’s just not feasible for a website with a large number of users. A front-end registration form is a must to let users provide this information themselves.
A plugin like User Registration is the perfect solution in this situation. It’s a registration form plugin that lets you build custom registration forms of any kind with its drag and drop builder.
The beginner-friendly interface paired with flexible customization options makes this an excellent choice for even people without coding knowledge.
And the best thing is that you get plenty of additional custom fields besides the default WordPress user fields to add to your forms. You can even customize WooCommerce registration forms with extra fields like billing and shipping address fields available in this plugin.
So, how do you add the extra fields to your registration form then? Well, we’ve prepared a step-by-step tutorial to help you understand how to add extra fields to a custom registration form in WordPress.
Let’s jump right into it.
How to Add Extra Fields to a Registration Form in WordPress?
If you’re not familiar with the User Registration plugin, no need to worry. We’ll show you exactly how you can add extra form fields to a registration form in WordPress with this plugin in the following steps:
1. Allow Users to Register with a Front-end Form
If you’re adding a registration form to your site, there must be a way for users to find this form, fill in their details, and submit it to register.
This option is turned off by default which means the registration form isn’t accessible to your users.
So before anything else, you need to turn on the Membership option under General Settings from your WordPress dashboard. Doing this allows users to register with a front-end registration form.

2. Install and Activate User Registration Plugin
Now, you’ll need the User Registration plugin installed and activated on your WordPress website.
It’s pretty simple. Go to the Add New section under Plugins.
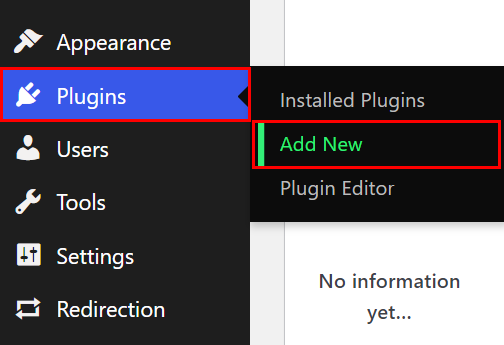
Here, search for the plugin and click the Install Now button when you find it in the results.
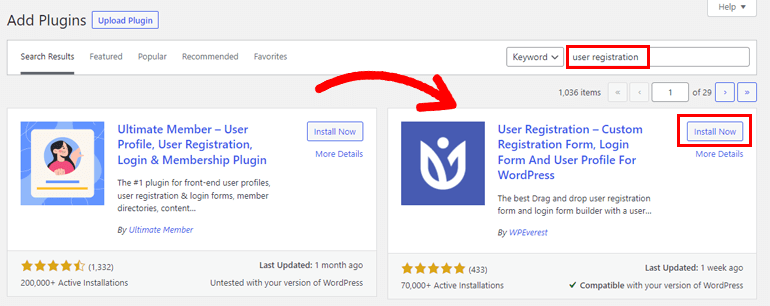
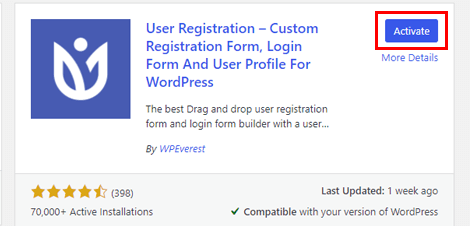
Then, Activate the plugin to complete the installation process.
Alternatively, you can download the plugin from the official WordPress.org page and install it from the Add New page. Just press the Upload Plugin button, choose the plugin file you just downloaded, and click Install Now.
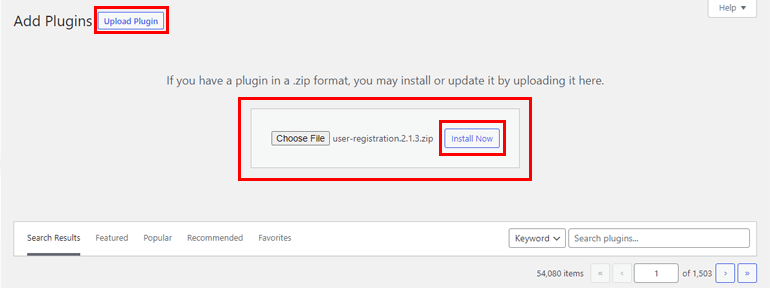
Don’t forget to activate the plugin right after installation.
3. Create a New Registration Form
After the installation is complete, you can immediately get down to building a new registration form. Simply click Add New under the User Registration tab, and it’ll take you to the form builder.

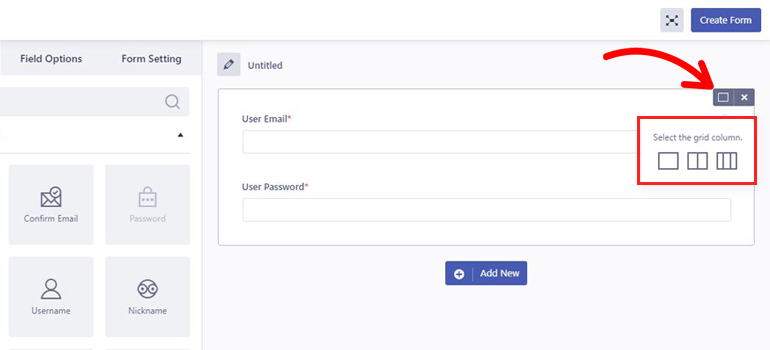
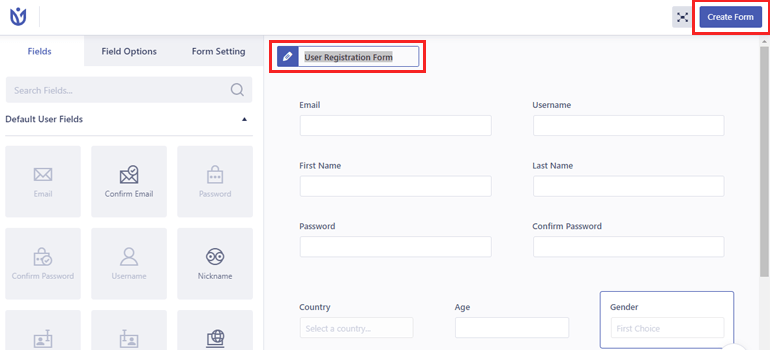
Here, all the fields you’ll need, their customization options, and form settings reside in the left panel. On the right is the actual form, where you’ll add the fields.
The form already comes with two Fields by default: User Email and User Password. You’ll have to drag the rest of the required fields and drop them into the form.
Suppose you want to place two fields in a single row. In that case, hover over the row and choose a grid column layout.
In the next section, we’ll go over all the extra fields you can add to the custom registration form.
4. Add Extra Fields to Registration Form
The Default User Fields are already available in WordPress except Confirm Email and Confirm Password. The advantage of User Registration providing default fields is that you can add them to the front-end form as you wish and retrieve basic user information.
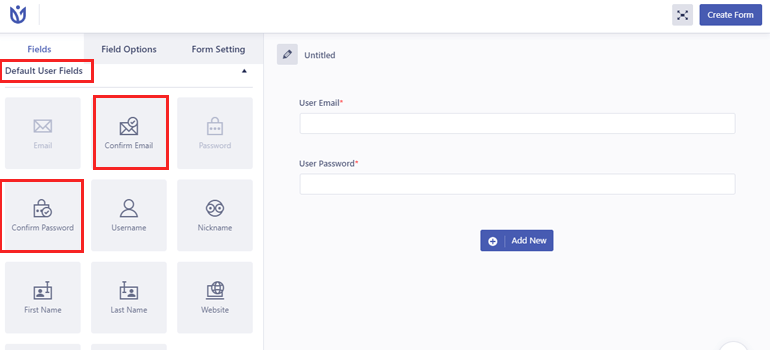
However, what you’re looking for are the Extra Fields. You’ll be able to build any kind of registration, simple or complex, using these fields.
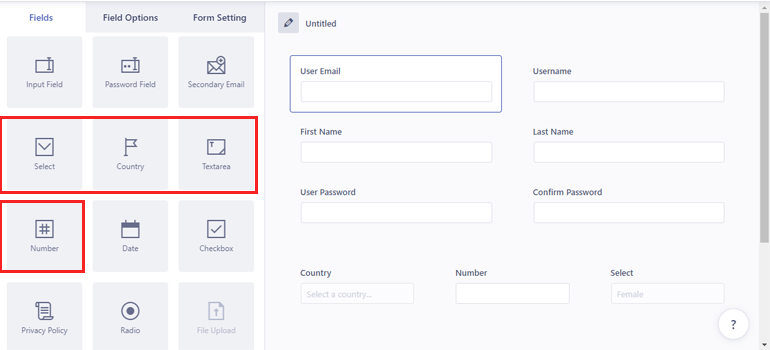
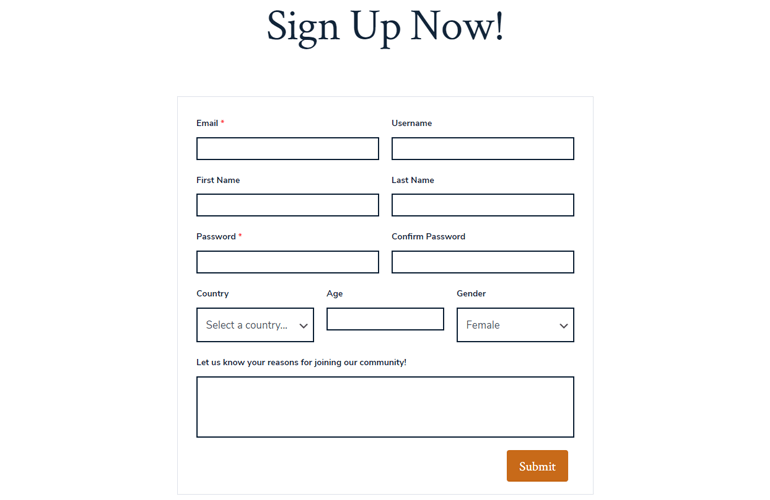
For instance, the Country field comes in handy if you want to know where your users are from.
The Confirm Email and Confirm Password fields reduce the chances of an error because of typos.
Similarly, it’s easy to know their gender and age with fields like Checkbox, Radio, Select, and Number.
You can also ask for descriptive answers from users with the Textarea field.
That’s not all. There are several other extra fields such as:
- Date: Allows users to select a date in a specific format.
- Secondary Email: Users can provide their secondary email through this field.
- Privacy Policy: Display your site’s policy before a user completes the registration process.
- Input Field: Retrieve any extra information on users you need like guardian information.
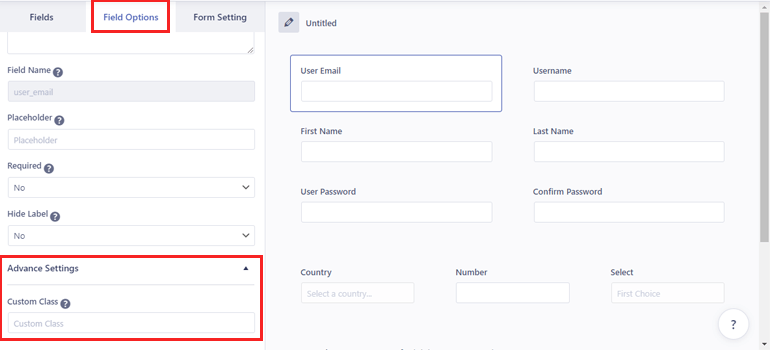
Each of these extra fields comes with Field Options, including General and Advanced Settings.
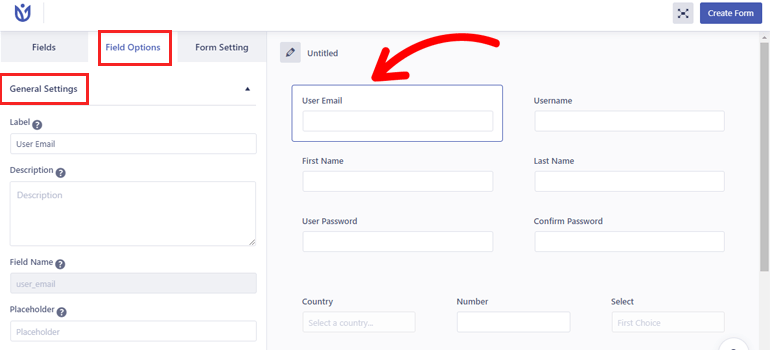
So, you can do anything from editing their Label, Description, and Placeholder to adding custom classes.
Once you’re done building the form and customizing the fields, give the form a name and press the Create Form button.
Note: The remaining 3 Extra Fields (File Upload, MailChimp, Invitation Code) and Advanced Fields are only available to Premium users. You also get WooCommerce Shipping and Billing Address Fields for a custom WooCommerce registration form.
5. Configure Registration Form Settings
The next step in this process is configuring the registration form settings from the Form Setting tab.
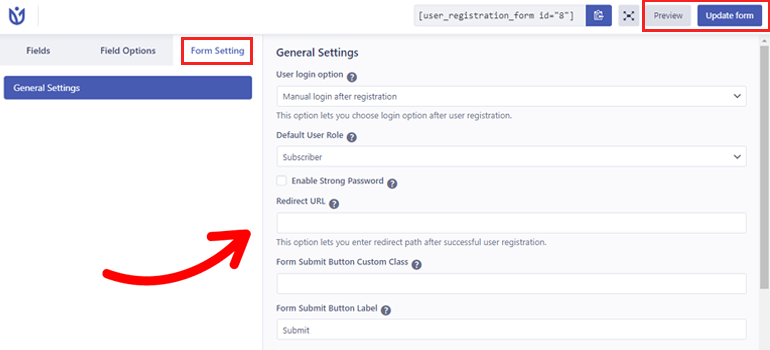
This is where you’ll be able to choose a User login option among manual login, admin approval, automatic login, and email confirmation.
Most importantly, you can set default WordPress user roles for people who register using this particular form.
Besides that, you get to choose a form template, set a redirect path after successful user registrations, enable reCaptcha, and so much more.
After you’re done with the configuration, you can click the Preview button to check how the form looks in the front-end.
If necessary, you can always make more changes and then hit Update form.
6. Display the Registration Form on WordPress Website
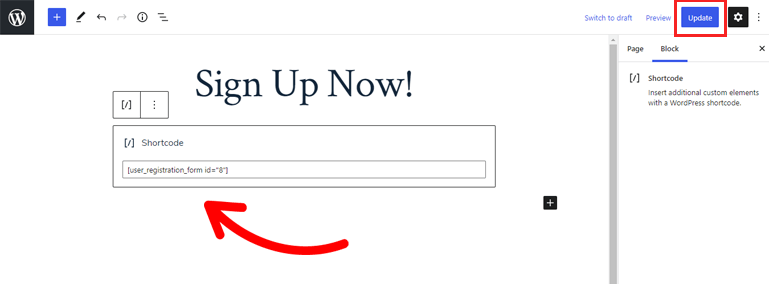
Finally, your registration form with custom fields is ready for going online on your WordPress site. Simply copy the registration form shortcode and open the page or post in which you want to place the form.
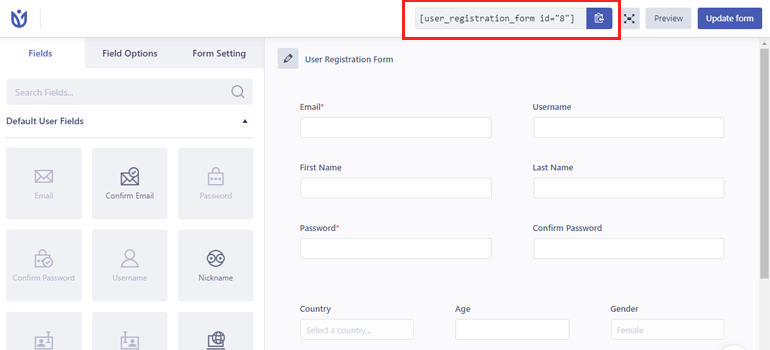
Then, paste it into a Shortcode block and hit Update.
Another way is to add the User Registration block itself and select the form to display from the dropdown.
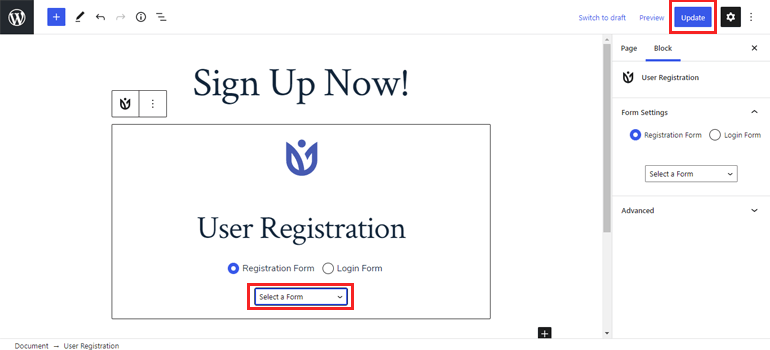
After that, click the Update button to publish the form on your WordPress website.
Wrapping Up
So, that was our article on how to add extra fields to your custom registration form in WordPress using a plugin. To summarize, users can only provide their email and username while registering with the default WordPress registration form.
But with the User Registration plugin, creating a detailed registration form is quick and easy because of extra fields like Country, Confirm Password, Date, and more.
Better yet, you can create a multi-step registration form in case of detailed and long forms with the premium Multi-part add-on. You’ll find this and many other advanced features in the premium version of the plugin.
We hope this tutorial will help you implement a custom registration form with extra fields on your website as well. Do follow us on Twitter and Facebook for updates on more helpful articles.


![Zakra 3.0 | Zakra Pro 2.0 Release [Major Updates!]](https://i.ytimg.com/vi/g3rifl7kWvg/maxresdefault.jpg)