LMS (Learning Management System) is a booming topic with the easy accessibility of the internet these days. There are a lot of successful businesses that sell online courses. If you also have an online course site, then you must have already installed LearnDash. Or, you might have at least heard about the plugin. LearnDash is a great way of creating and selling online courses. With this plugin, you can transform your WordPress site into a powerful learning management system. You can also allow your readers to take courses on your site. Meanwhile, you should make readers register when they take the courses.
But, how to do you create a custom registration form for LearnDash? Fear not! We present you our awesome User Registration LearnDash Add-on. With our premium LearnDash add-on, you can easily make readers register and enroll for the LearnDash Courses in your site. Its simple interface makes it possible for your users to manage their course details and payments from the accounts page of your site.
So, let’s get right into the process of creating a custom registration form for LearnDash courses in your site.
How to create Custom LearnDash registration form?
1. Install and Activate User Registration Plugin

First of all, you must download and install our User Registration plugin to create registration forms.
2. Purchase the LearnDash add-on and install it
After you activate the plugin, go to the Extensions tab and click on the LearnDash add-on.

Then, you’ll be taken to our LearnDash add-on page where you can purchase our premium add-on.
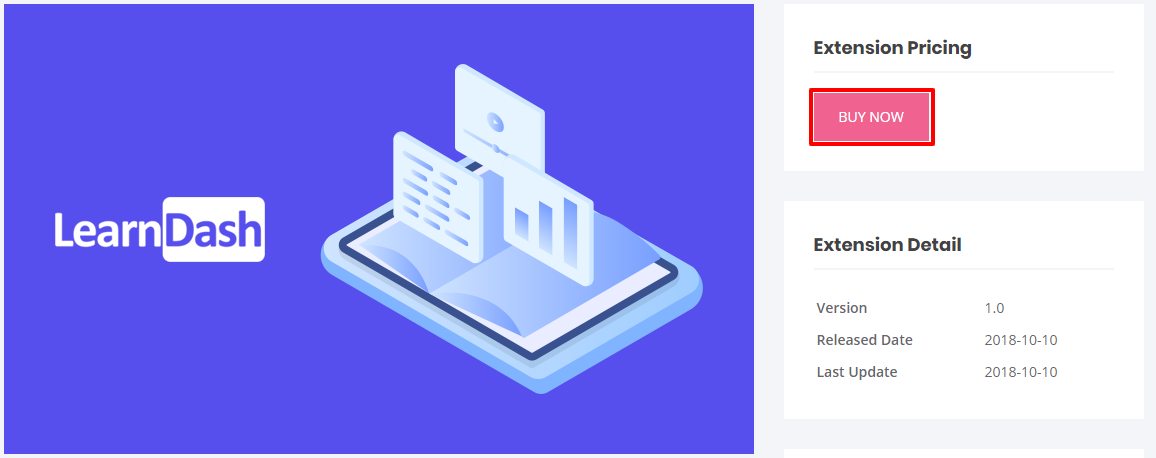
The LearnDash add-on is available on the Plus and Professional plans.
If you want more details on the pricing, go to our Plans and Pricing page to choose the best plan for you.
3. Create a custom registration form for LearnDash courses
Once you install and activate the add-on, Go to User Registration>>Add New to create a new registration form.
Then, use the easy-to-use drag and drop feature of our User Registration plugin to add the form fields to the forms.
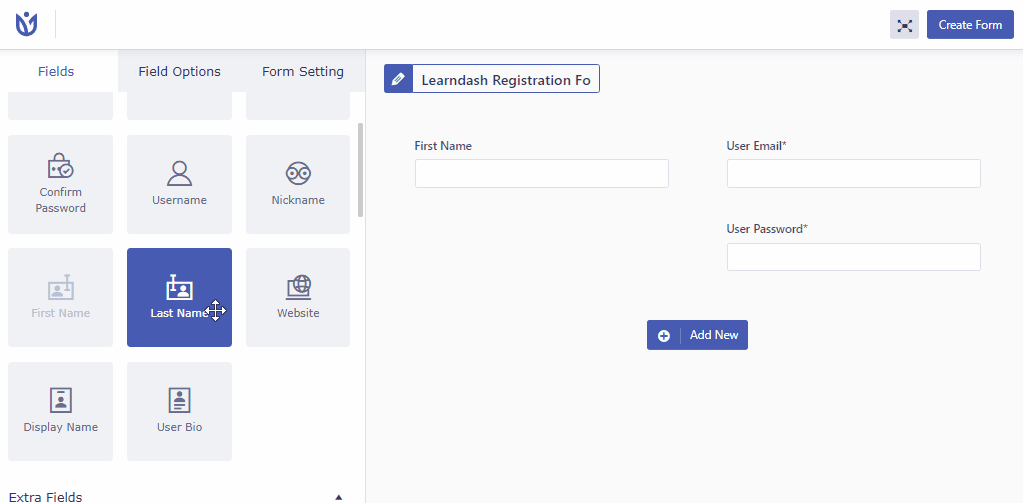
After you are done creating your user registration form, go to Form Settings. Then, click on the LearnDash LMS option.
You can select the courses that the users will automatically enroll when they fill-up the form. At last, Click on Create Form.

4. Add the user registration form using shortcodes
Now, you can add the created form for your LearnDash courses anywhere using shortcodes. Just copy and paste the shortcode for each form to the page or post you want.

You can also just easily add the form by clicking on the Add Registration Form button on the editor and select the form you want to insert. Then, it will automatically add the shortcode of that form.

5. View Account Details
With this Add-on, you can let your users review their LearnDash course details along with their account details. You need to create a My Account page for this and it is easy to create one.
You need to add a Shortcode provided by our User Registration plugin.
For this, you can go to our Documentation and copy the shortcode from there.

After you paste the shortcode and create your My Account page, your users will be able to view their account details and also, the LearnDash Course Details.

Wrapping up:
Hence, making your users register for the courses is always a great idea. With our User Registration LearnDash Add-on, you can make your readers enroll in courses directly when they register. If you are selling courses online then, you ought to create a custom registration form for LearnDash users. And, our LearnDash Add-on makes this job effortless for you.


![Zakra 3.0 | Zakra Pro 2.0 Release [Major Updates!]](https://i.ytimg.com/vi/g3rifl7kWvg/maxresdefault.jpg)